Free home automation made easy
If there’s one thing that’s annoying about the smart home, it’s having to use multiple apps to do everything.
The ones that exist have limitations: HomeKit has limited devices support and only works on Apple devices; SmartThings has limited support and needs you buy hardware.
Home Assistant skips these problems.
A free tool, Home Assistant only requires a Raspberry Pi 3 or Raspberry Pi 4 to run. Once installed, you can connect it to hundreds of devices, thanks to its integrations, giving you a single place to control everything in your home.
Plus, it’s HomeKit compatible, too, letting you control devices that aren’t normally supported through the Home app.
Even better, Home Assistant lets you create Automations, so your smart home can work automatically the way you want it to via the rules that you set. While you can do similar things with IFTTT, Automations here give you more control and they run faster, too.
Home Assistant can get quite complicated quite quickly, so here I’ve focussed on the basics, getting the system installed and running, plus configuring HomeKit and basic Automations.
Home Assistant: Installation
Rather than running as an application on top of the Raspberry Pi operating system, Home Assistant runs its own OS that has to be installed from scratch.
To do this, you first need to download Balena Etcher, a tool for flashing OS files to SD cards and USB drives.
Once downloaded and installed, insert your microSD card into a reader in your computer and run Etcher.
Select the Flash from URL option, and then you need to put in the correct URL based on the Raspberry Pi that you have. The current options are:
You can check for updated URLs on the Home Assistant installation page.
Paste in the URL that you want and then click OK.
Next, click Select target and choose your microSD card from the list. Make sure you choose the right device, as the one you select will be wiped.
When done, click Flash and the OS will be download and then installed to your chosen SD card.
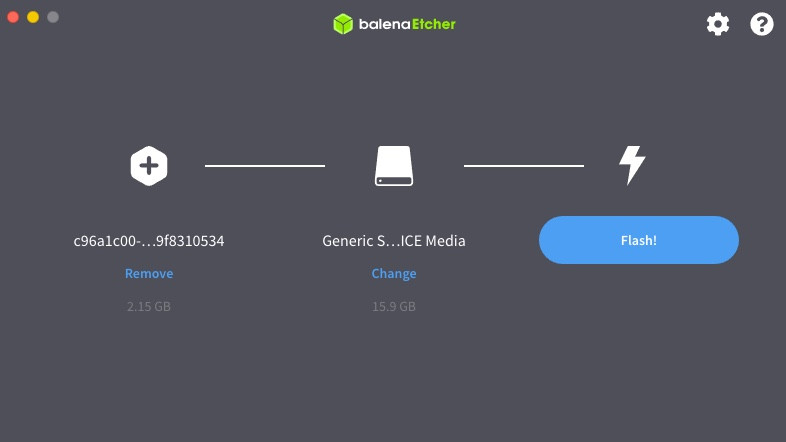
Once done, you can insert the microSD card into your Raspberry Pi, plug in an Ethernet cable and turn it. Your Pi will automatically boot into the Home Assistant. Give the Pi a few minutes to boot up, and then from a web browser, you can visit http://homeassistant.local:8123/.
Home Assistant first has to configure itself, so you’ll get a web page telling you that it’s configuring and that the process can take up to 20-minutes, so you have to wait for this job to complete.
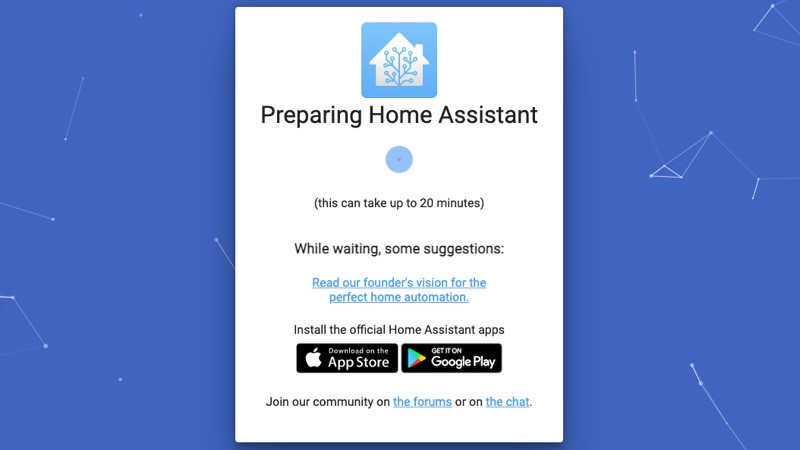
Once completed, you’ll be prompted to enter a username and password, so go ahead and then click Create Account. Then, use the map to put in your location and click Next.
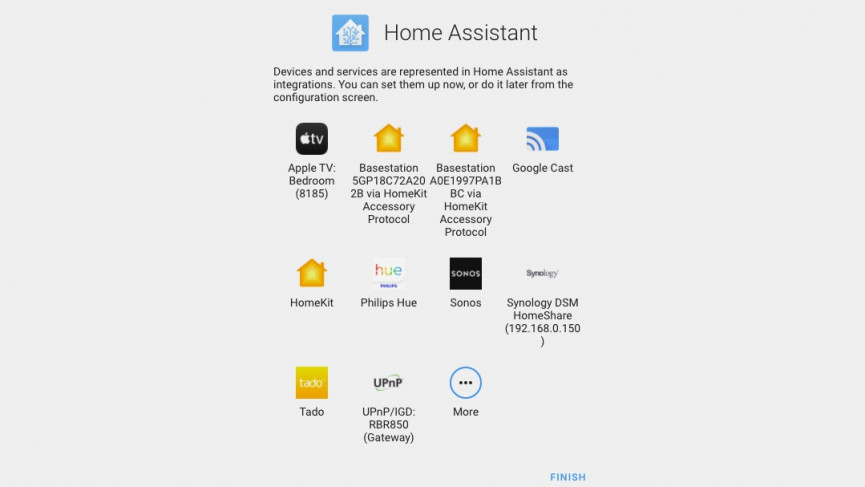
On the next screen, you’ll see that Home Assistant has automatically detected some of the devices that it’s found on your home network.
You can click any detected device to start setting it up, or you can skip this and install devices later.
Installing devices
Whether you configure your devices during installation or you do it later, the instructions are the same. To add new devices, go to Configuration and then Integrations.
The first page will show you a list of detected devices: the same as during installation.
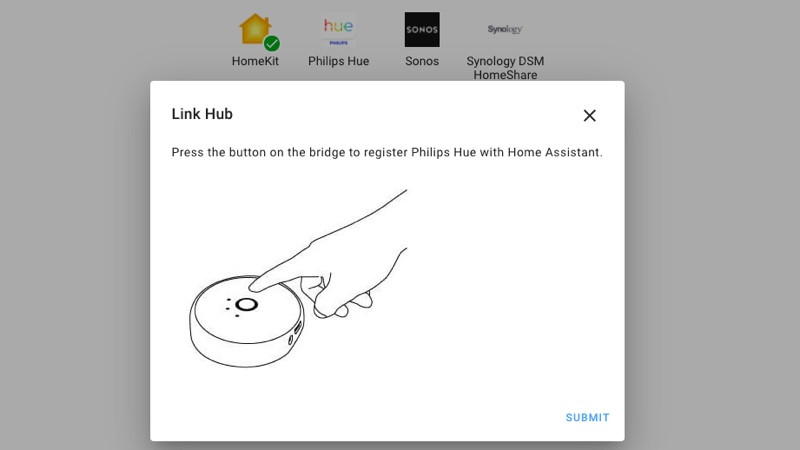
To add one, click it. Here, I’ve selected Philips Hue, which required me to hit the button on the Hue Bridge, and then click Submit.
Home Assistant then pulls in the list of Hue lights, putting them into the same rooms as you have configured. The sensors will also be detected, although you manually have to put these into Areas (rooms).
Most detected devices are just as easy to configure. For example, with Tado I just had to enter my username and password to link the accounts. Discovered devices can then be placed into an Area by using the drop-down menus.
If you have other devices that aren’t detected, you can add them by clicking the Add Integration button and then searching for the one you want.
Configuration is largely simple: I added my Ring account just by typing in my username and password, although the current integration doesn’t support the Ring Alarm, only cameras and doorbells.
Repeat until you’ve added all of the Integrations that you want.
Note that some integrations need a bit more work. For example, SmartThings requires some backend setup. If you’re struggling with an Automation, each one has a dedicated help page on the Home Assistant Integrations page, which will take you through installation step-by-step.
If you want to control where devices appear, you need to click Entities, find the device you want, select it and then use the Advanced settings drop-down menu to move its location.
Controlling your devices
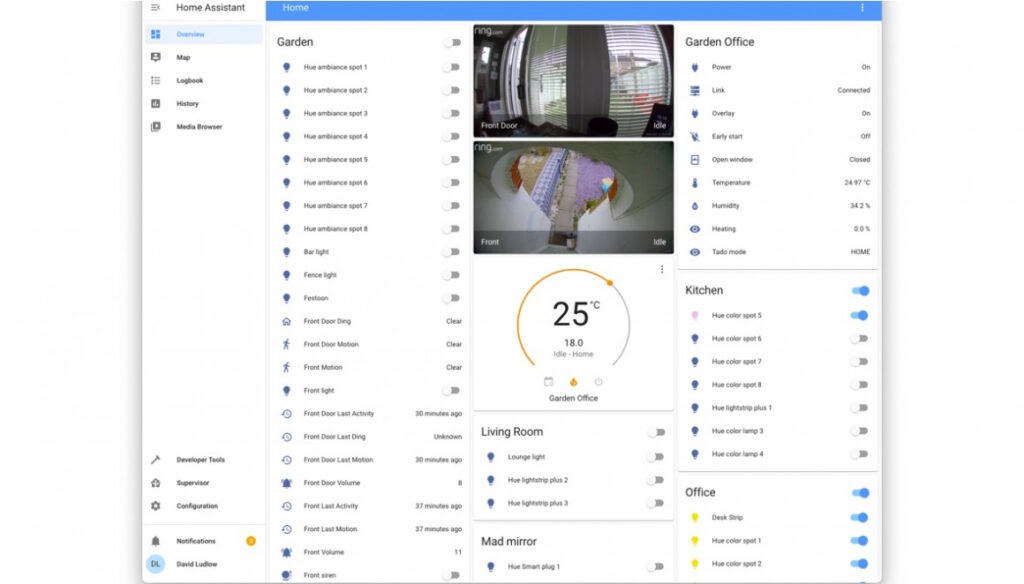
Once you’ve added your devices, you can click the Overview link in the side menu and you’ll see the main dashboard, with devices grouped under Areas.
Devices that you can switch on and off, such as lights, will have toggle switch next to them.
You can also click a device, such as some Hue lights to get advanced controls, such as colour and temperature selectors.
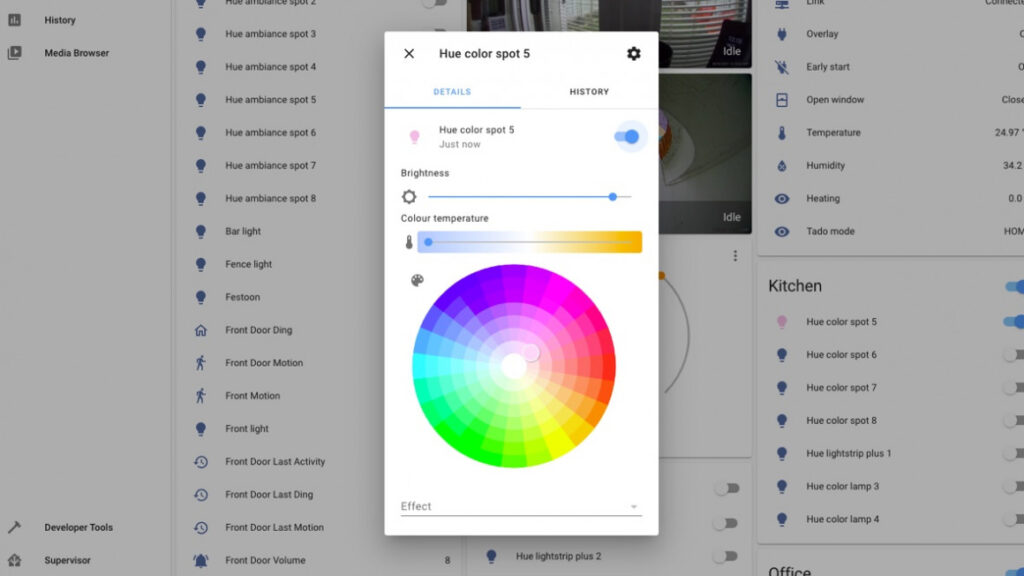
Some devices, such as the Tado smart thermostat get their widget, which lets you control more advanced options.
With Tado, you can select the temperature and mode, for example.
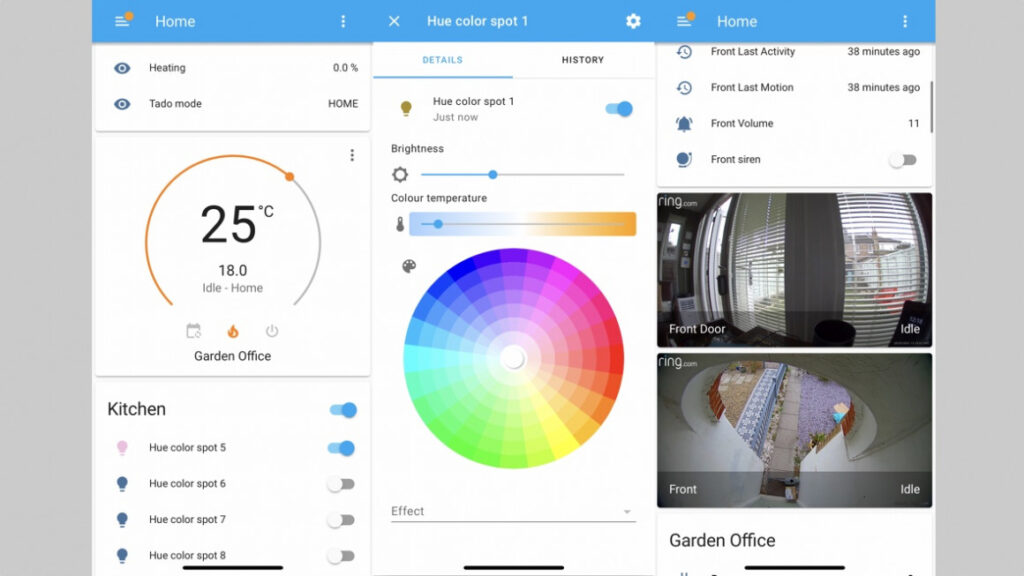
If you want mobile control, there’s the Home Assistant app for iOS and Android, which gives you the same interface, just fitted to your phone’s screen.
When you download and run this app, it should automatically find your Home Assistant server on the network; you need to select this and then log in with your username and password.
Getting started with Automations and Scenes
One of the main benefits of Home Assistant is that you can create Automations to run your Smart Home automatically.
To create a new one, go to the web interface and click Configuration, then click Automations. To add a new one, click Add Automation.
First, you have to Enter the name of your Automation. Make sure it’s descriptive, such as ‘Turn on garden lights automatically’ and click Create.
Home Assistant will look at the name you’ve given the Automation and then suggest devices to control.
Use lights, for example, and you’ll get a list of lights to choose from, and you can set how you want them to respond.
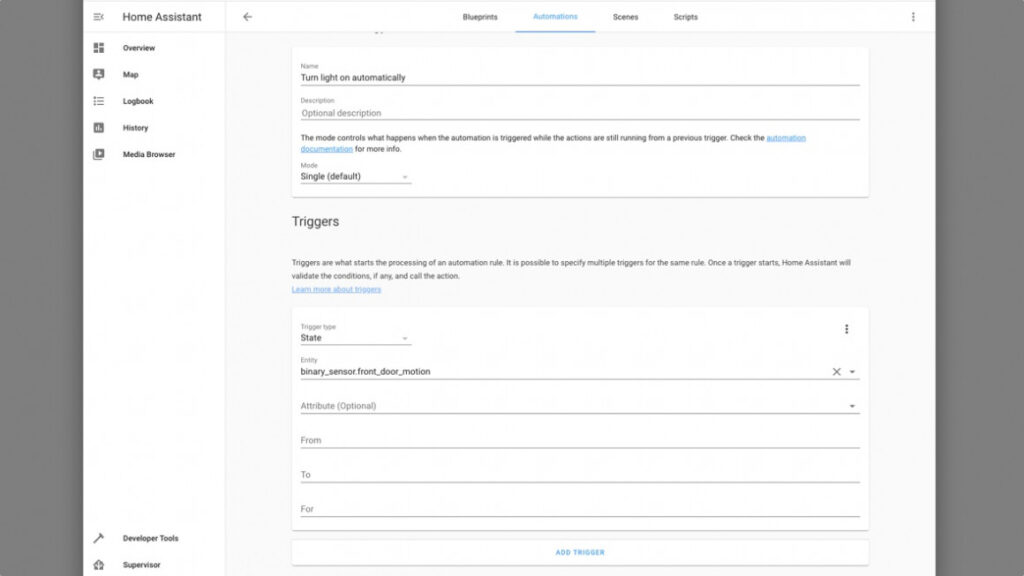
Once you’ve done this, you then need to select your Trigger. There are a few options but these are the main ones. Device lets you run the Automation when a Device is used, say when a light turns on or off.
State lets you select from the list of sensors, such as ‘Front Motion’, which, in my home, is activated when the Ring Doorbell detects motion.
Geolocation lets you trigger based on the location of the selected mobile device. Sun lets you pick Sunrise or Sunset. Time lets you pick a specific time of day.
There are other Triggers, some of which require a bit of coding to work, and you can find out more about these on the Home Assistant Trigger page.
Finally, you can set a Condition, where the Automation only runs if the Condition is met. The most useful ones are Time or Sunrise/Sunset. For Time, you can set the Before and After times, and the days applied (say, after 6pm and before midnight, every day of the week).
For Sunrise, Sunset you can set the Condition to run before or after, either, and set a time offset, say 10 minutes after Sunset. Offsets are entered as HH:MM:SS (01:00:00 means one hour, for example).
For my test Automation, I set my Hue Kitchen Lights to turn on when Motion is detected by the Ring doorbell, but only after Sunset.
Home Assistant has an entire scripting language that lets you take full control of Automations, programming how you want them to respond.
I haven’t covered it here, because the visual interface will give you 99% of what you need and is far easier to use.
Finally, Scenes are similar to Automations, in that you can select a bunch of devices and set their mode. The difference is that Scense can be added to an Area and are run manually.
For example, you could have a Movie Night scene that turns up the heating and dims the lights automatically.
Home Assistant: HomeKit Setup

Home Assistant is also compatible with HomeKit, letting you add devices controlled by Home Assistant to be discovered through the Apple Home app.
This lets you add devices that don’t traditionally have HomeKit support. This is similar to running HomeBridge, although that’s worth checking out for its different device support: for example, HomeBridge supports the Ring Alarm.
To add HomeKit support go to Configuration and select HomeKit if it’s detected (if not, you’ll have to add it through the Add Integration button).
Follow the wizard through, and you can specifically exclude some devices. For example, Philips Hue is already compatible with HomeKit, so you don’t want to add your lights twice and should exclude them in Home Assistant.
When done, click the Notifications icon (bottom left of the web interface) and you’ll see a HomeKit QR Code. From your Home app on your phone, select Add accessory, and then scan the QR code to add all of your Home Assistant devices into HomeKit.
You can then create HomeKit automations and scenes as normal.


