This sensor knows who you are and what you like, but it needs your phone
We can't wait for the day our smart home's know who we are and what we want - even before we do, and RoomMe is a very large step in that direction. However, because the integrations and types of devices RoomMe works with are limited this isn't a must-have just yet. But it's worth keeping an eye on, and it's a neat solution if you're fed up of having to talk to a smart speaker to turn your lights on.
Pros
- Person identification is the future
- Simple set up
- Easy to use app
- Unobtrusive design
Cons
- Limited integrations
- Have to have your phone on you
- Latency for some devices
- HomeKit requires extra step
Do you want your smart home to just work, the way it’s always been promised? Lights come on when you enter a room, thermostat sets itself to perfection, your personal playlist (and not your daughter’s favorite boyband) starts playing as you relax on the couch, all without you having to lift a finger or shout a command.
Sounds like a smart home unicorn, right? But it might just be real.
RoomMe is a personal location sensor that uses presence sensing technology to have every room in your home respond to you or your family’s presence. It works as a layer over your smart home, using Bluetooth to communicate from your phone to your devices to tell them who is in the room and how they should adapt.
Read this: 8 clever ways to better use smart sensors in your home
First launched as an Indiegogo campaign in the summer of 2017, RoomMe is different from standard sensors and smart home routines because it doesn’t rely on occupancy, motion, voice or timing to trigger automations. Instead, it adapts your home to your presence in conjunction with that of your family, so no one is left in the dark.
RoomMe costs $69.99 for one sensor, with discounts for buying multipacks. It currently works with HomeKit, Wink, Sensibo, Philips Hue, Lifx, Ecobee, Sonos, and Bose, as well as integrating with systems such as Control4.
We spent a few weeks living with the RoomMe system and here’s what we thought of this unique smart home concept.
RoomMe: Design and installation
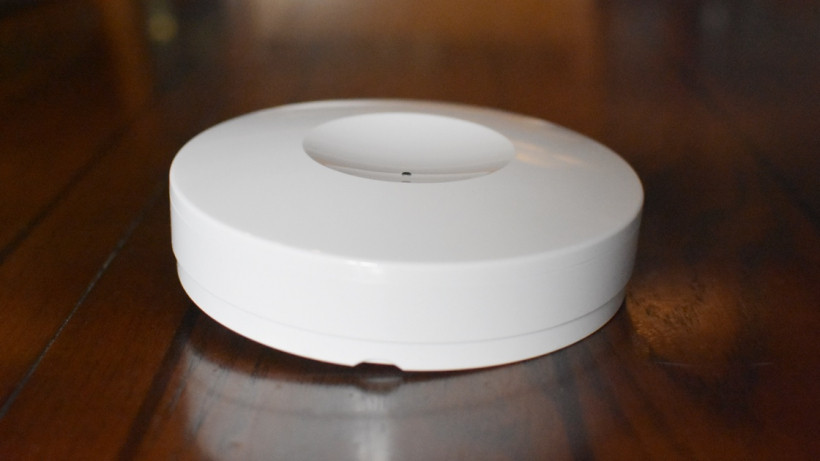
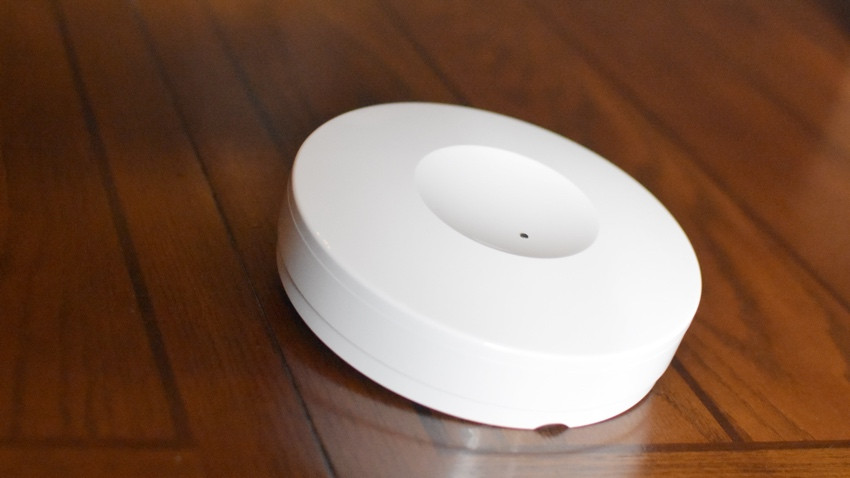
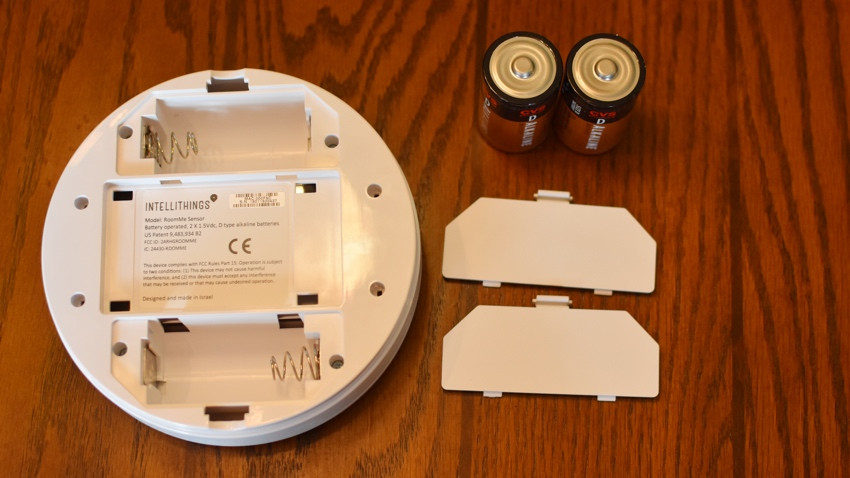
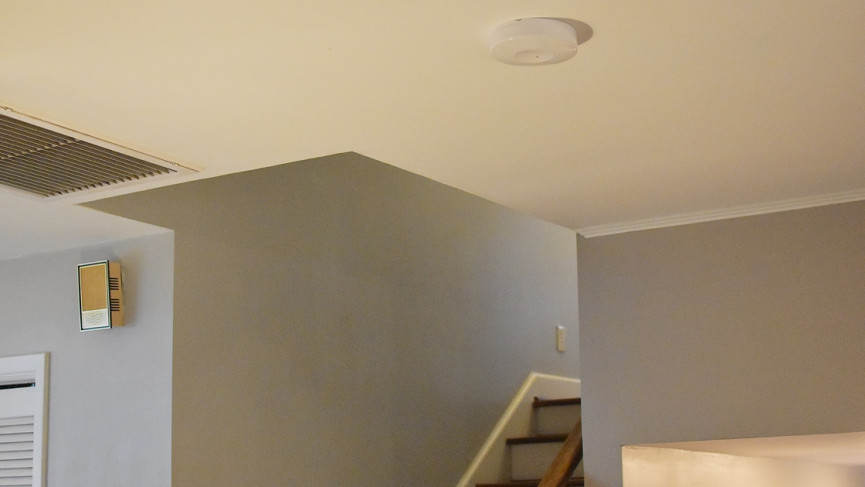
RoomMe sensors look like oversized smoke alarms. Slightly smaller than your average salad plate, they’re lightweight, 6 inch circular sensors that attach to a bracket on your ceiling.
Powered by two D Alkaline batteries (annoyingly not included), the sensors sit at the entrance to your rooms to determine who has entered and who is already inside, based on your smartphones. They have to be positioned very specifically however, and if your room has two entrances, you ideally need two sensors for it.
In fact, you have to set up two sensors for RoomMe to work – as the only way the system knows you’ve left a room is when you enter another one and connect to the sensor there. Intellithings, the makers of RoomMe, say for best results you should install one at every entrance to rooms you want controlled.
We had a two pack to test, so put one at the main entrance to our living room and one at the entrance to our home office/master bedroom.
To automate our entire four-bedroom home with these, we figure we’d need between 10 and 12 of the $69 sensors, which would mean shelling out around $700. A bit too high of a price for this tech, right now,
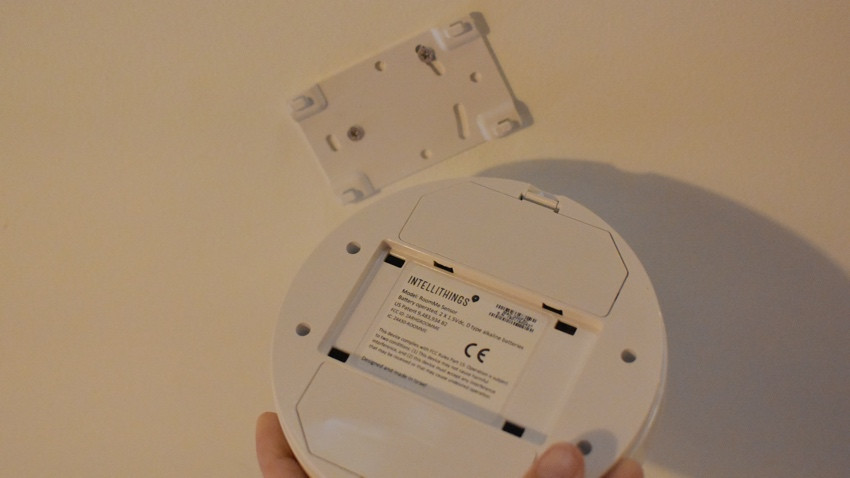
Installation is similar to that of a battery-powered smoke alarm, put in the batteries, determine the best position (based on a chart provided that shows you optimal placement based on ceiling height) and screw the bracket into the ceiling. Then slide the sensor on to the bracket and set up everything in the RoomMe app. Pretty simple.
RoomMe: Setup and app
Once the sensors are installed, the system is set up using the RoomMe app, which is well laid out and straightforward to use.
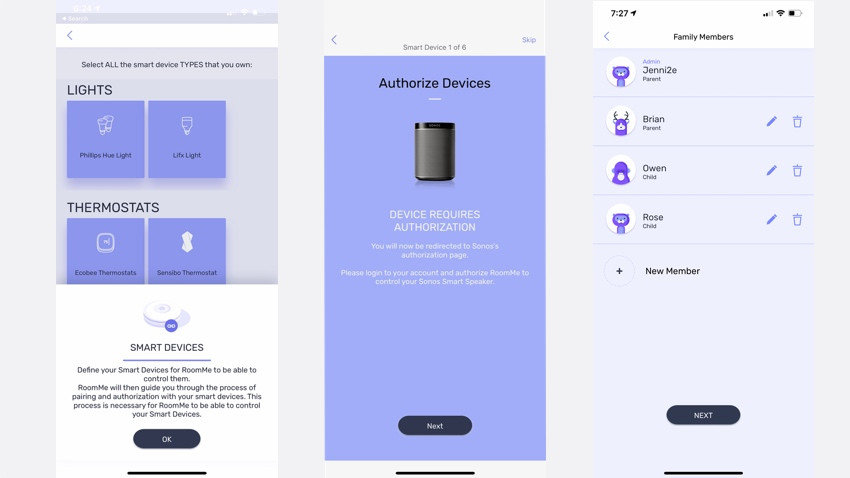
Whoever sets up the system becomes the Admin, and additional Users can be added as either a Parent or Child. A Parent’s preferences takes priority over a Child’s if both are in a room at the same time.
Set up involves holding your phone close to the sensor for the initial connection (really close, so you may need your ladder if you’ve got tall ceilings). Then you set up your profile, tell it whether you’re a Parent or Child and proceed to connecting any smart devices you have.
Once these are all connected (which is done by authorizing each one using your device’s login information) you proceed to setting up each room where the sensors are, and identifying which smart devices are in which room.
Finally, you calibrate each sensor – something you need to do anytime you add a new device to your RoomMe. This consists of a slightly bizarre ritual where you hold your phone up to the sensor then go stand in the doorway and do the same in each room where there’s a sensor.
Now RoomMe is all set up and you can start creating Charms – its word for the automations that happen when you enter the room.
RoomMe: Features
RoomMe has one feature – it tells your smart devices what to do based on who is in the room. It’s a simple concept, although getting it to work just right with a family of four involved a fair amount of setup and didn’t always work consistently.
RoomMe knows what you want based on Charms you create. Each person whose phone is connected to the system can set up their own Charms, and whether their preferences will kick in depends on who else is in the room.
You can choose a RoomMaster for each room, whose preferences will always take precedent, whether they’re a Child or not (for example, I would make my son RoomMaster of his room).
It currently works with select smart lights, thermostats and speakers. We tested it with Philips Hue lights, a Sensibo thermostat, Sonos speakers and the Wink smart home hub. (We also tried it with HomeKit, but due to an Apple requirement you have to either have the app open or respond to a prompt on your phone to trigger the automations – a dealbreaker for us.)
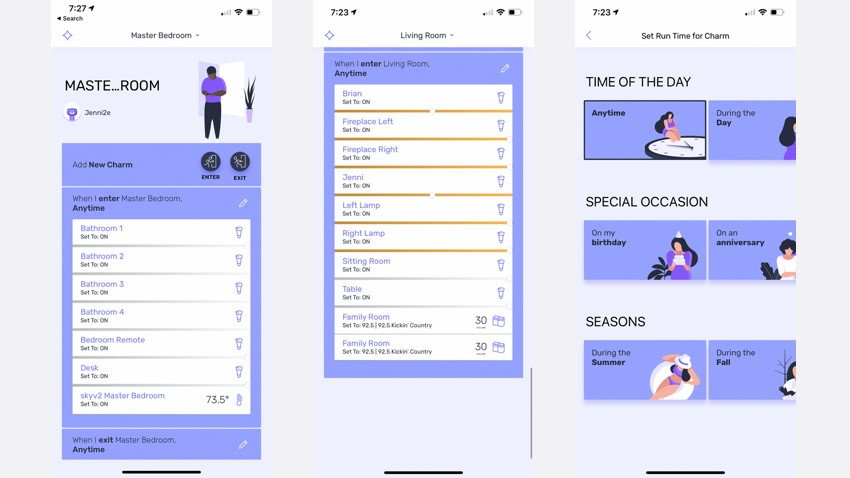
You create Charms by selecting what you want each device to do when you enter and then when you exit the room. For lights, you can set to on or off and choose a color or brightness, or helpfully “use current smart device settings” – which means you can get your room to the ideal setting in another app and easily transfer it to RoomMe.
For Sonos speakers you can choose from TuneIn, Sonos playlists or Play (which plays what was last playing on your speaker). For the thermostat you can set it to turn on or off or to a specific temperature.
When you create a Charm you can choose from a variety of time periods – or create your own – and even tailor them to specific dates and even seasons.
Read this:RoomMe CEO explains how his sensor makes your home smarter
To get our Charms to where I wanted, I created six different ones just for everyday use. This kind of fine-grained control is pretty unprecedented in the smart home, but it’s also a lot of work! However, once set up it did create a pretty seamless experience.
I had our living room lights come on at the correct level during the day and set the Sonos speakers to tune to my favorite radio station when I entered, then these would all turn off when I exited – unless someone else was in the room, in which case it would revert to their settings.
When I entered the home office/bedroom the Sensibo thermostat would turn on the mini-split heater and activate the lights – controlled by a Lutron Caesta light connected through Wink. Then it would all turn off when I left.
I needed to create at least four other Charms to adapt to different times of day, so the lights wouldn’t come on when I entered the home office/bedroom after 10 p.m. and the radio station wouldn’t start blaring in the evening if I entered while my family was watching TV.
RoomMe: In Use
RoomMe’s biggest selling point is that person identification. I loved that I could finally set up automations in my home that wouldn’t leave my family in the dark if I left the room, and actually make things better for them (such as start playing my son’s favorite radio station in the living room when I went into my office).
All other location-based automations I’ve tried only work if you leave the entire house, not just a specific room.
However, reliability was pretty spotty. It would sometimes take 5 to 8 seconds for a room to adapt to my entering or leaving it, and sometimes it wouldn’t change at all. Occasionally some devices would take even longer to adapt.
This is not really RoomMe’s fault – it’s to do with the latency experienced by each device – but still, not a great experience. It’s got to be quicker than flicking a light switch.
I had a lot of trouble with the Sonos integration – it would rarely turn on, although when it did work it was my favorite integration. Again, this was to do with my hardware, not RoomMe, but when your main purpose is to work with other devices, you live and die on those successes.
I also had a few occasions when nothing would happen at all when I moved between rooms. It turned out that you have to have the RoomMe app running in the background on all connected phones, otherwise it won’t recognize you. And herein lies the sensor’s biggest problem: it relies on your phone.
Voice control and sensors were supposed to take us away from needing our phone to run our smart home. While with RoomMe you don’t have to take it out of your pocket, you still need to have it with you as you move around the house.
This makes it practically useless for children who don’t have smartphones and not particularly functional if you’re like my husband and leave your phone by the front door when you come home.
RoomMe told us that its working on integrating its technology into smartwatches, which wouldn’t solve the child issue (perhaps a button or tag could be fashioned for younger members of the family?), but it would definitely make it a smoother experience overall.
The concept of RoomMe is brilliant and it’s well-executed within its current limitations (reliant on the phone, dependent on the cloud latency of other devices). While it’s not a must-have device, RoomMe is on to something here. Personal presence sensing is clearly the way the smart home needs to move, there are just some kinks to work out on the way there.


