What devices you need to wire, the tools you need and how to do it
The beauty of today’s smart home is that it’s mostly wire-free. Wireless protocols such as Zigbee, Z-Wave, Wi-Fi, Matter and Bluetooth LE have done away with the need to install complex and expensive whole-home electrical systems just to control your smart lights remotely.
In the modern smart home, all you need is a smartphone and a Wi-Fi router to unlock the power of connected devices. Most of the time.
There are still some key devices you are going to have to hardwire though. This is not so they can work with smart home systems, but because they need to communicate with your “dumb” appliances, such as connected heating and air conditioning systems, smart garden sprinklers and irrigation, and the electrical wires running through your ceilings and walls.
If you really don’t feel comfortable messing with wiring there are battery-powered versions available for some of these devices, but hooking them into your home’s wiring is the best way to go if you want to get the most out of the cool, connected capabilities they offer.
Thankfully, much of the wiring is straightforward. As long as you know where your breaker box is and are handy with a drill, you probably won’t need to spend big bucks on an electrician.
Which devices will I have to wire?
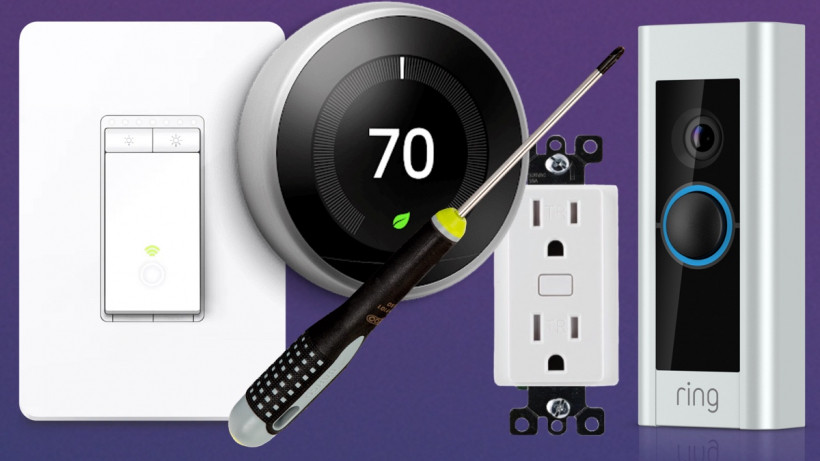
When selecting connected gadgets for your home, bear in mind these are some of the ones you are most likely going to need to wire up:
• Smart wall outlets
• Smart sprinkler controllers
What kind of wiring will I be doing?
Most of today’s connected devices are targeted at the consumer, meaning you can largely Do It Yourself. Some companies, including like Google Nest, Tado and Amazon, have pro installers that will come and install their products for you, for a fee.
If you are at all uncomfortable with wiring you should use them or hire an electrician – messing with electricity can be dangerous. But if you can turn off the power at the breaker, you’ll find that dealing with the accessible wiring in your home is simple and straightforward.
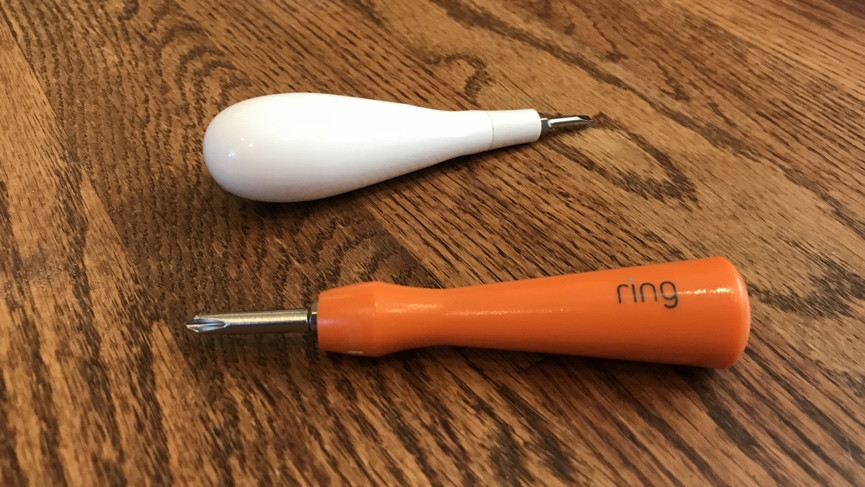
Ring and Nest supply screwdrivers to help you install their products.
What equipment will I need?
The main tools you’ll use when wiring smart home gadget include:
• a screwdriver
• a drill
• a level
• wire strippers
• needle nose pliers
• wire nuts
• screws
• wall anchors
Many devices will come with everything you need to install them right in the box (with the exception of a drill, which is not always needed). Ring and Nest, for example, both include excellent little double-headed screwdrivers with their higher-end products.
Which devices need to be hardwired?
Here’s a rundown of smart home devices you will need to wire into your home, listed in order of difficulty.
We’ve provided simple step-by-step guidance to give you an idea of how the process will go, but in every instance, you should refer to the included installation guide (or more likely video) that comes with your product.
Light switches & smart outlets
Smart light switches and outlets replace your existing light switches and outlets, allowing you to control what they’re connected to with an app on your smartphone, or through a smart speaker. When installed, a smart switch will control all the lighting on that circuit, and a smart outlet controls whatever is plugged into it (such as a lamp, table fan or other standalone electrical device).
We’ve put these two products together because the wiring for both is almost identical. It is also one of the most involved wiring projects and may require the use of a voltage tester to identify which is a hot wire and which is a load wire.
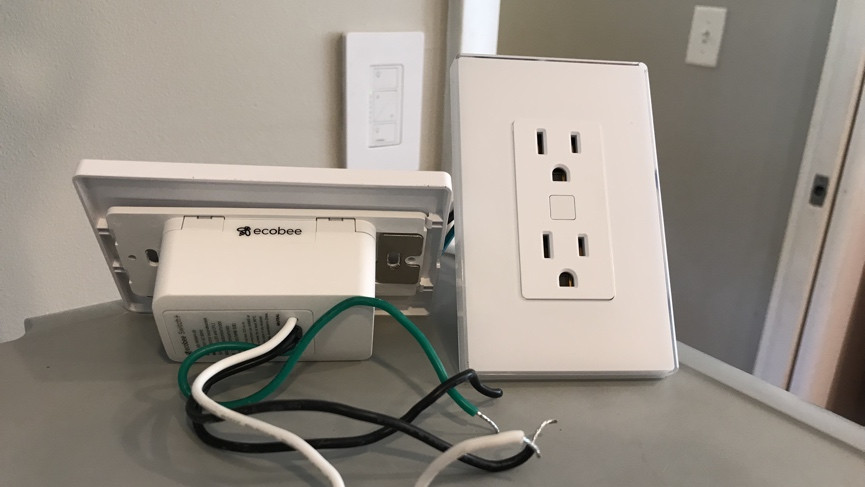
Smart switches and wall outlets are the most complicated devices to install yourself.
How to wire a smart switch/smart outlet
1. Turn off power to your switch/outlet at the breaker (if breakers aren’t labeled you can turn off the master power).
2. Unscrew the wall plate and switch/outlet from the wall.
3. Disconnect existing wires from the switch/outlet by turning the wire nuts (see below) counterclockwise.
4. Remove your existing switch/outlet and place it in a box or Ziploc bag along with all screws (in case you need to put it back it later).
5. Identify the wires in your system – many smart switches/outlets require a neutral wire, but not all homes will have them (if you don’t have a neutral wire consult an electrician).
6. Once identified, connect the corresponding wires in your wall to the wires on the smart switch using wire nuts. These will be Line and Load wires, usually black or red, and a neutral wire (often white, sometime two fastened together and tucked away). If your Line and Load wires are the same colour, you will need to use a voltage tester to confirm which is which.
7. Push the connected wires back into the wall box as far as they will go.
8. Screw the switch/outlet into the wall box and attach any provided wall plates.
9. Turn the power back on.
Using wire nuts
Wire nuts are used to connect two or more wires together. Hold the wires you are connecting so the ends are aligned, then place a wire nut on top and twist clockwise until secure.
The wires should not come out when you pull. You can also use pliers to twist the wires together before attaching the wire nut, or to straighten them out prior to attaching the nut.
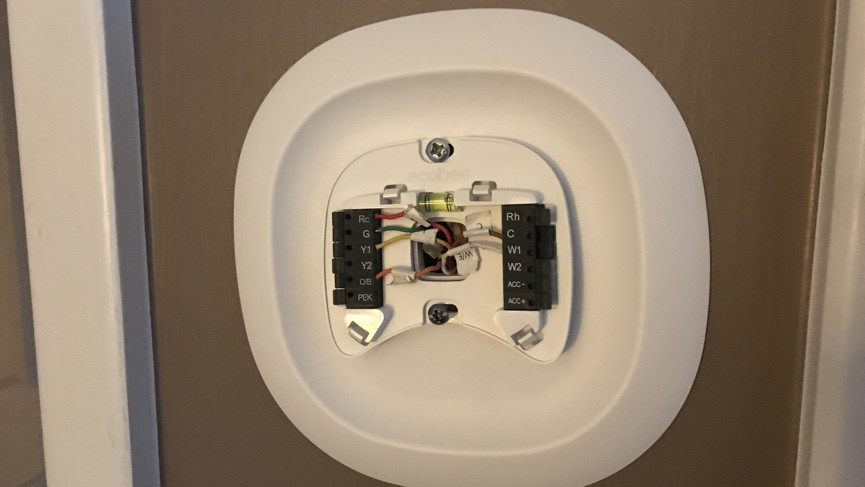
Wiring a smart thermostat, like the Ecobee 4, requires a good knowledge of your HVAC system.
How to wire a smart thermostat
While the actual wiring process for a smart thermostat is very simple, getting it right is more complicated than any other DIY smart home project. This is because if it’s done incorrectly it could damage your HVAC system, which can be costly. Because of this, if you are not sure about your system’s requirements at any point during the installation process consult a professional.
1. Turn the power to your thermostat off at the breaker.
2. Remove the faceplate from your old thermostat and photograph the wiring for reference.
3. Label your thermostat wires (most smart thermostats come with adhesive labels for doing this in the package).
4. Remove your old thermostat.
5. Using the new thermostat as a guide, mark where the screws will go, and if needed drill holes and place anchors.
6. Pull your thermostat wires through the new thermostat and attach the wires (according to the manual that comes with your new thermostat) before you attach it to the wall.
7. Screw the thermostat baseplate onto the wall.
8. Double check your wiring, put the thermostat’s faceplate on, and turn on the power.
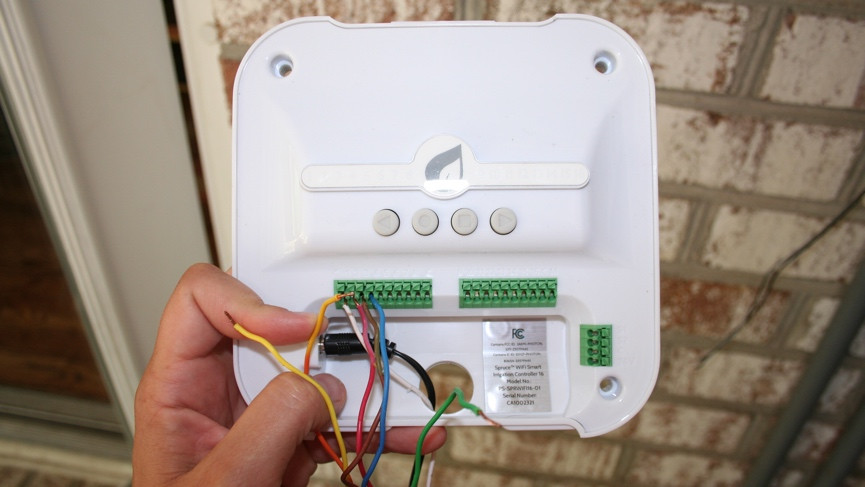
Wiring up the Spruce smart irrigation controller is very straightforward.
How to wire a smart sprinkler controller
A smart sprinkler controller replaces your standard irrigation clock. It will control your sprinkler system in the same way, by turning on the valves at scheduled times, but it can also use weather data from the internet to dynamically change your schedule and avoid watering before, during or after rain events.
The wiring process is similar to that of a thermostat, although because most sprinkler controllers are plugged in with an AC adaptor you won’t need to turn off power at the breaker.
1. Photograph your existing wiring and take note of which wires correspond to which zones.
2. Unplug the existing controller and remove the wiring from it.
3. Put the wiring through the controller and mount it on the wall, drilling holes into the wall and placing drywall anchors if needed.
4. Snap the wires into the corresponding zones, put the C wire in the correct port and if you have a Master or Pump Valve consult the installation guide to determine where that wire needs to go (it differs on each model).
5. Plug in the AC adaptor (some models do not have AC power adaptors, in these cases you will need to run the power wires into the electrical box that controls your irrigation system and will need to turn off power at your breaker before you do).
6. Turn the power back on.
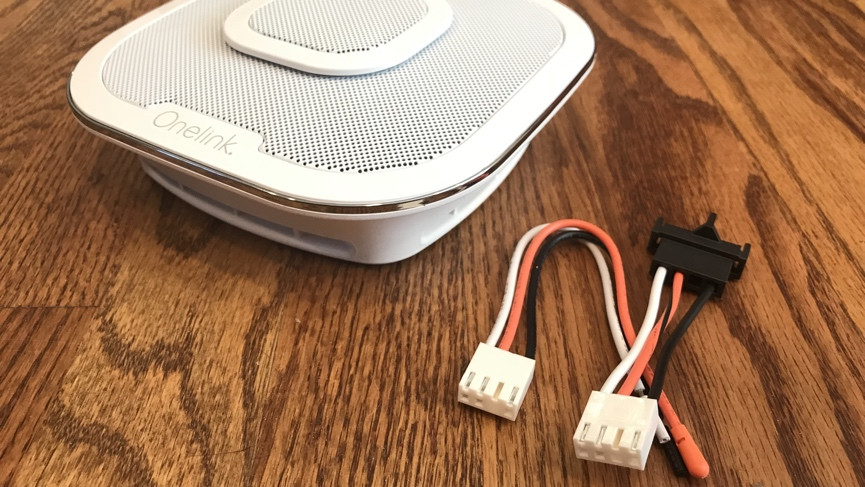
The Onelink Safe & Sound needs to be hardwired to power its Bluetooth speaker.
How to wire a smart smoke alarm
Smart versions of smoke alarms can notify you via your smartphone if they are activated. Smoke alarms come in hardwired versions or battery-powered only. Which version you need will depend on how your home is set up. If you have wiring to support smoke alarms, installing a smart one is no different from installing a regular alarm.
1. Turn power to your smoke alarms off at the breaker.
2. Remove your existing smoke alarm and mounting bracket (you can’t reuse mounting brackets as they are manufacturer specific).
3. Screw the supplied mounting bracket to the electrical box.
4. Unscrew the existing wire nuts from the wiring in the ceiling or wall and remove the old connection to your smoke alarm.
5. Attach the wire connectors for the new smoke alarm.
6. Plug the connector coming from the wire into the back of your smart smoke alarm and twist into position on the mounting bracket.
7. Turn the power back on.
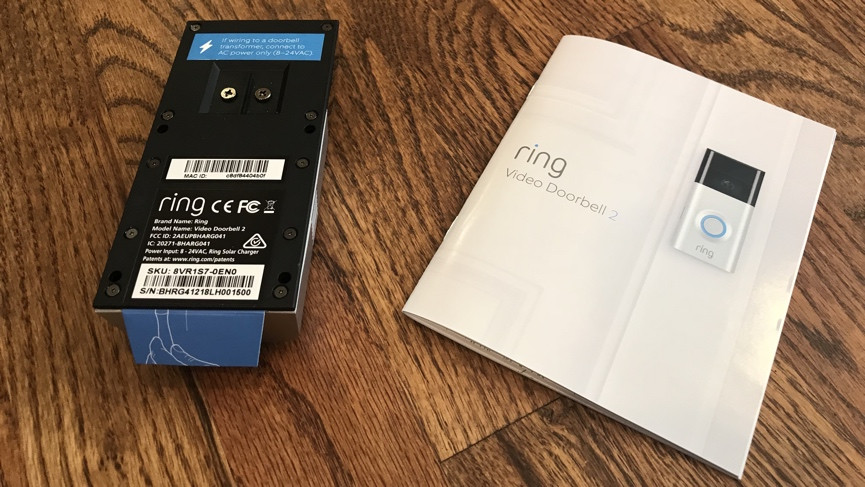
Wiring a video doorbell is the easiest smart home wiring job you’ll do.
How to wire a video doorbell
Video doorbells place a camera at your front door, allowing you to see anyone there even if they don’t press the doorbell.
But they do work as doorbells too, and if you have an electrical door chime you’ll need to connect it to your home’s wiring.
If you would rather not do this, or don’t have an electrical doorbell, there are battery powered video doorbells available, such as the Ring Video Doorbell 3 Plus. You will need to periodically charge the battery, however.
If you have a doorbell that can work off your existing doorbell wiring though, here’s what to do.
1. Turn off the power to your doorbell at the breaker.
2. Remove your old doorbell.
3. If you are placing your doorbell on stucco, brick or concrete you will need a special drill bit to drill holes in the correct positions for placing your new doorbell.
4. Connect the wires coming out of your wall to the screws on the back of your new doorbell (you may need extension wires if your wires are too short, these will need to be attached with wire nuts).
5. Screw the doorbell onto the wall.
6. Turn the power back on.
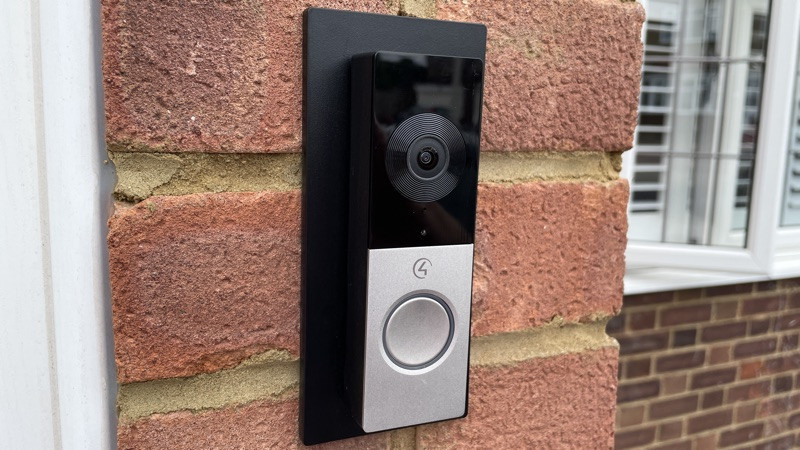
Power over Ethernet devices
Another way to wire smart home devices, on certain products, is using a simple Ethernet cable. Sort of.
Power over Ethernet (or PoE) is an umbrella term that covers a host of standards or systems that pass electricity over Ethernet cabling, along with data at the same time.
This is great for devices such as security cameras, Wi-Fi access points and video doorbells as it means you can not only provide power to a device but a stable internet connection as well.
Devices that use PoE include the likes of the Ring Video Doorbell Elite, TP-Link outdoor access points, the Control4 Chime and the Reolink RLC-811A.
The good news, if you buy a device that uses Power over Ethernet is that you don’t need to do anything apart from provide a connection from your router (or a switch that supports PoE) directly to the device.
You can buy PoE ‘injectors’ which plug into the wall, but these merely provide power to a device, you don’t get the data aspect.


