A step by step guide that'll keep you out of hot water
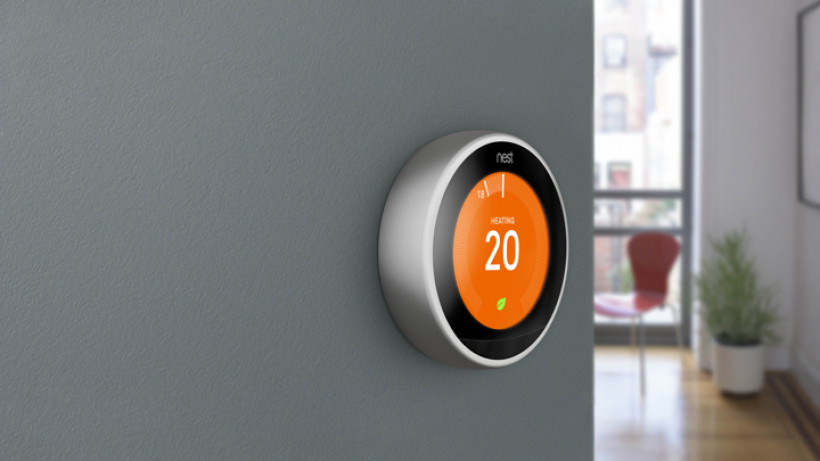
There are a lot of homes that have electric heating only, but the Nest Learning Thermostat isn’t designed to control these and is built to work with hot water systems only.
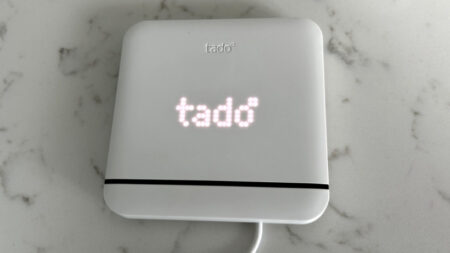
In the UK and Europe (not the US, I’m afraid), the Nest Learning Thermostat ships with the Heat Link relay, which is controlled wirelessly by the Nest Thermostat to toggle your boiler’s heating on and off. Thanks to this device, it’s possible to get your Nest to control an electric radiator, or an entire electric heating system.
For safety, you may want to involve an electrician to complete the wiring, particularly if you’re controlling multiple radiators, due to the high current that’s used. In this specific project, I’m controlling a single plug-in electric radiator that’s used to heat a garden office.
1. Add a solid state relay
So, how does it work? The Heat Link can’t toggle the power to a radiator directly, as it can’t handle this much power. Instead, it can be used to control a solid state relay.
A relay is a type of electrical switch. It uses a low voltage input (in this case, controlled by the Nest), to toggle power to a high voltage system (in this case, the radiator). So, the Nest turns on the relay, which turns on the radiator. I’m using a 40A solid state relay, which ships with a suitable heat sink to help dissipate the heat it generates.
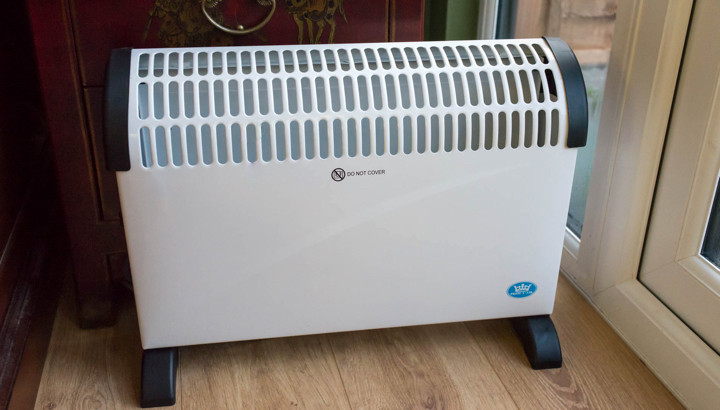
I’m using a basic electric radiator with a physical on/off switch. When my system toggles power to the radiator, it means that heat comes on instantly; with radiators that have a remote control, turning the power on doesn’t turn on the heat and you’d have to manually power on the radiator, which is rather inconvenient.
2. Wire up your Nest Heat Link
I’ve wired everything up through a drillable junction box, so that all my components are kept neatly inside. I drilled three 20mm holes, and plugged them with cable glands for neatness; these will take all of the cables that I need.
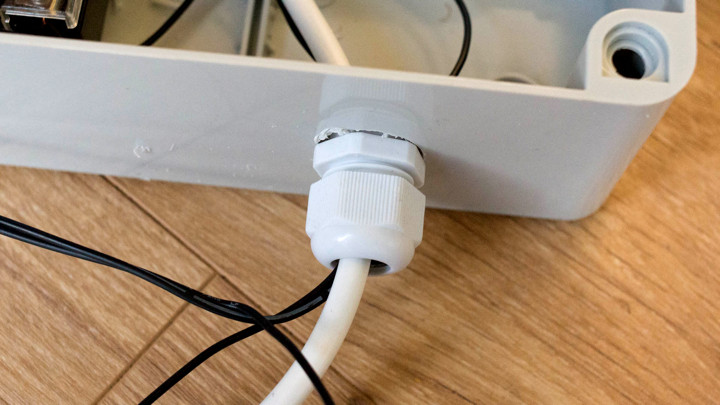
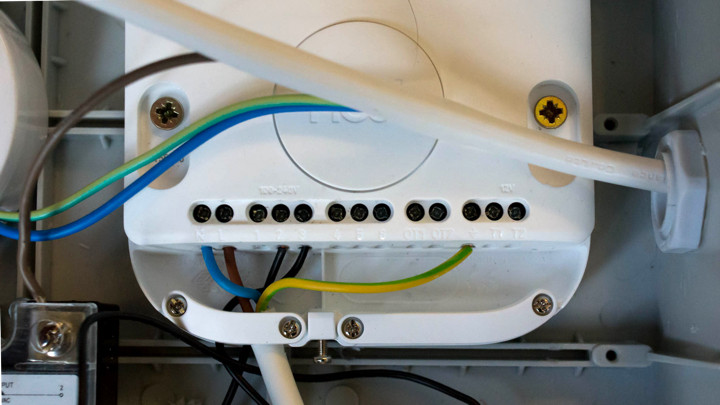
To wire up the system, you first need to get power to the Nest Heat Link. You’ll need three core flex cable (buy 1.25mm cable minimum, as this thickness will cope with your radiator, too; I went for 1.5mm cable) and a three-pin plug fitted with a 3A fuse. I threaded this cable through the bottom hole of the enclosure, and wired the ends into the L, N and Earth ports on the Heat Link (check the wiring diagram provided with the Nest Thermostat for more information).
Next, the control circuitry is required to toggle the relay. I used a 5V 1A power adaptor (the type that plugs into a USB hub), and cut the connector off. Take note of which cable is the positive and which is negative; on my supply, the positive cable had white dashes on it.
For the positive cable, cut off a section long enough to stretch from the Heat Link to the controlling input on the solid state relay. Connect one end of this off-shoot to port 2 on the Heat Link. Connect the positive cable that’s still connected to the power adaptor to port 3 on the Heat Link. When the Nest Thermostat calls for heat, the Heat Link joins ports 2 and 3 and completes the circuit.
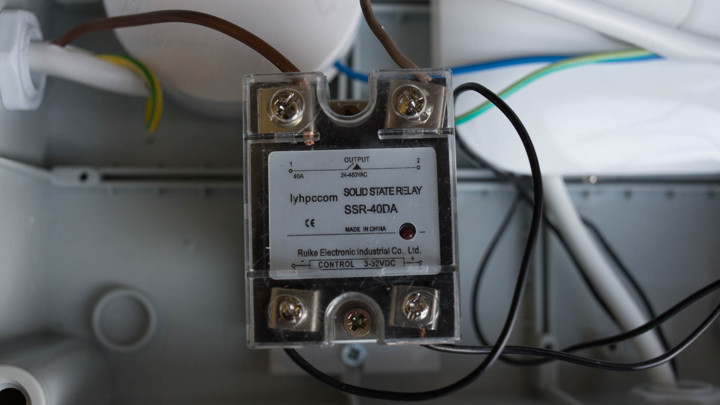
Now, on the solid state relay, hook up the positive cable coming from the Heat Link to the ‘+’ terminal on the control side of the solid state relay. Connect the negative cable from the power adaptor to the ‘-‘ terminal on the control side of the solid state relay.
3. Test the circuit
You can now test the circuit. Plug in the Heat Link and power adaptor and turn on the power. Press the button in the middle of the Heat Link to manually complete the circuit; the solid state relay should light up red to show it’s working. If it’s not, turn off the power. Check the connections to the Heat Link and make sure that they’re secure. If they are, you could have the control side of the solid state relay wired up the wrong way. Disconnect both wires from the relay and swap them around. With this part working, you can close the Nest Heat Link’s lid and secure it in place.
4. Time to wire up the radiator
Cut off the plug that it shipped with and strip the live, neutral and earth cables. You’ll need to wire up a new 13A plug and flex cable to act as the power input. Give yourself enough cable so that you can place the junction box where you want it, and strip the ends of the three cables inside. On one side of the junction box, run in the cable that’s connected to the new plug, taking it through a gland. Wire the live wire into one of the solid state relay’s output terminals (it doesn’t matter which one).
The earth and neutral cables need to be taken into a junction box – I’ve used a 20A junction box, but you’ll need a higher-rated one for controlling more than one radiator.
On the other side of the junction box, thread in the radiator’s power cable. Connect its live power cable to the spare output terminal on the solid state relay. Join the live and neutral cables to the input’s live and neutral cables inside the junction box. Close the junction box.
5. Test out the controls
To test, plug in the Heat Link, power adaptor and radiator plugs and turn them on. Tap the middle button on the Heat Link, and the control circuit is completed, turning the relay on; in turn, this completes the circuit to the radiator, powering it on. Tap the button to turn off your heating. Place your radiator and junction box where you need them, and power them on.
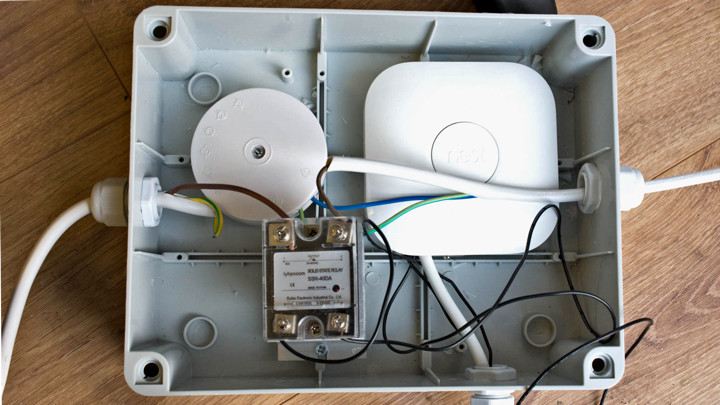
You can now follow the instructions to get your Nest Thermostat working, placing it where you want. From the Thermostat, I recommend setting your heating type to electric. You can find this setting in the Nest’s menus: Equipment, Pro Setup. Select the boiler type as other and set it to electric.
You can now use your Nest Learning Thermostat as though it were connected to a traditional hot water heating system.


