Your comprehensive guide to the Home app, best HomeKit tech, and more
HomeKit is Apple’s smart home system, offering a platform for users of its iOS devices to take control of their connected home.
Actually, getting technical for a moment, HomeKit is actually a a software framework and communication protocol developed by Apple, you won’t see a HomeKit app on your iPhone or iPad.
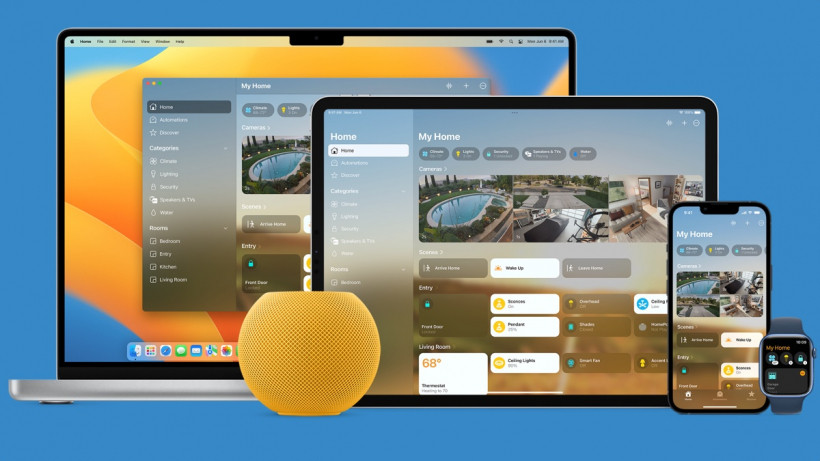
Instead, everything is entirely through Apple’s Home app, which is available on iPhone, iPad, Apple Watch, HomePod, Apple TV, and Mac.
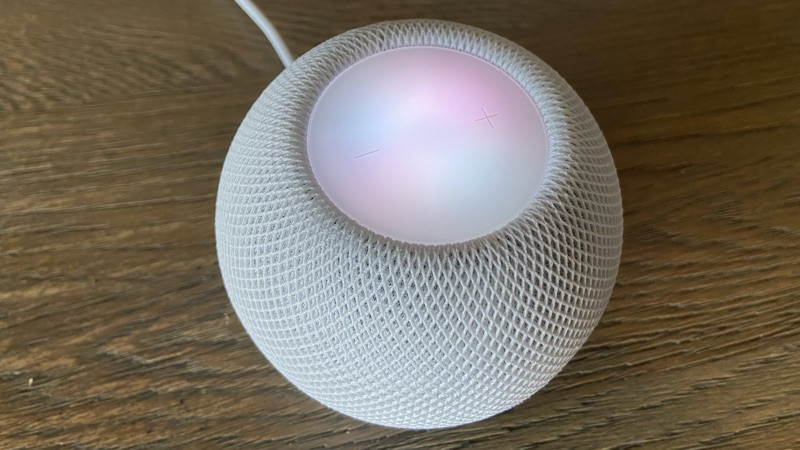
HomeKit doesn’t actually require you have a central device or hub to run a smart home. All you need is an iPhone, iPad or Mac; although adding a hub like an Apple TV or a HomePod Mini will open up some great features.
Below we’ll explain the nuts and bolts behind Apple HomeKit, how to get started with the system, and crucially, whether it’s the right platform for your smart home.
Jump to the information you need
- How does HomeKit work?
- The best Apple HomeKit devices
- Using the Home app
- Best Siri HomeKit commands
- How to set up a HomeKit hub
- HomeKit tips and tricks
What is Apple HomeKit?
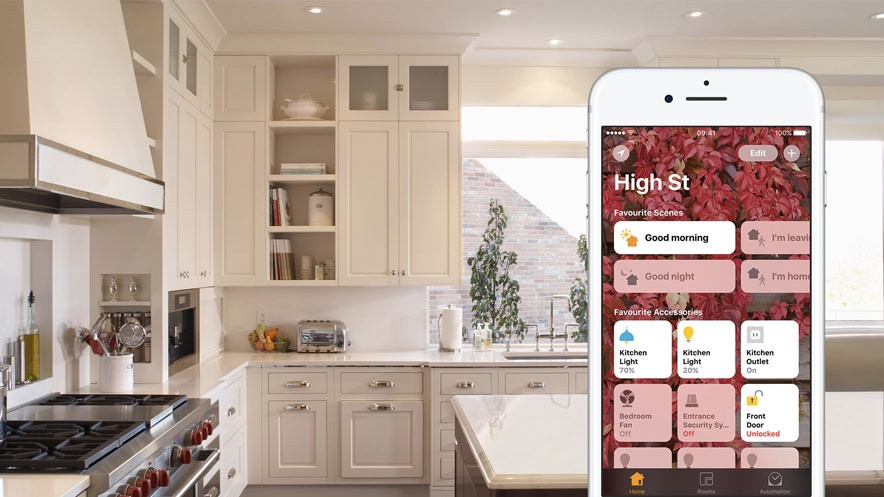
Apple HomeKit is a platform baked into iOS for controlling your smart home. The idea is simple: Instead of having a tonne of different smart home apps on your phone that don’t speak to each other, HomeKit brings them all together, offering control front and centre on your devices, as well as via Siri on your iPhone, iPad, Apple Watch, HomePod Mini, and Mac computer.
But that’s just half of the story. There are two elements to Apple HomeKit: HomeKit itself is a standard – a background software technology that devices need to comply with to get access to the club. Then Apple Home is its user-facing counterpart, an iOS app you’ll find on iPhones, iPads, Apple TVs, Watches and Mac computers.
We’re going to tackle all of this as we go along. From compatible devices to using the Apple TV as your HomeKit hub, we’ll explain it all.
How does HomeKit work?
To make an Apple HomeKit smart home you first need compatible devices. Bag a few of those, and you can start building your system.
In the early days, HomeKit devices were few and far between and quite fiddly to set up, but Apple has widened its scope and streamlined its on-boarding process and there are now hundreds of devices in almost every category.
Most devices work over Wi-Fi or Bluetooth, but the recent introduction of the HomePod Mini as a HomeKit Hub has brought a third protocol to the party: Thread
The Thread standard promises to make it easier for all sorts of devices – from lighting to thermostats – to more easily work together. And as it’s a mesh network it will also help your HomeKit devices talk to each other in every corner of your house.
Apple is also a major player in the new Matter smart home initiative and it’s now possible to add even more devices to an Apple Home using Matter – but more on that in a bit.
That being said, HomeKit is still one of the trickiest smart home ecosystems for manufacturers to get their tech working with, but a lot of that is down to Apple’s super-high encryption and security standards. But while its hard for manufacturers, its easy for users.
Most HomeKit devices are added by using the Home app to scan a unique six-figure HomeKit QR code found on your compatible device or in its box or manual. (Make sure you keep those codes, you may need them later.)
Once paired, devices appear in the Apple Home app and can be assigned to Rooms. You can also tag them as Favorites, which gives you quick access to them when you open the app, from the Control Center, and also on the lock screen if you wish.
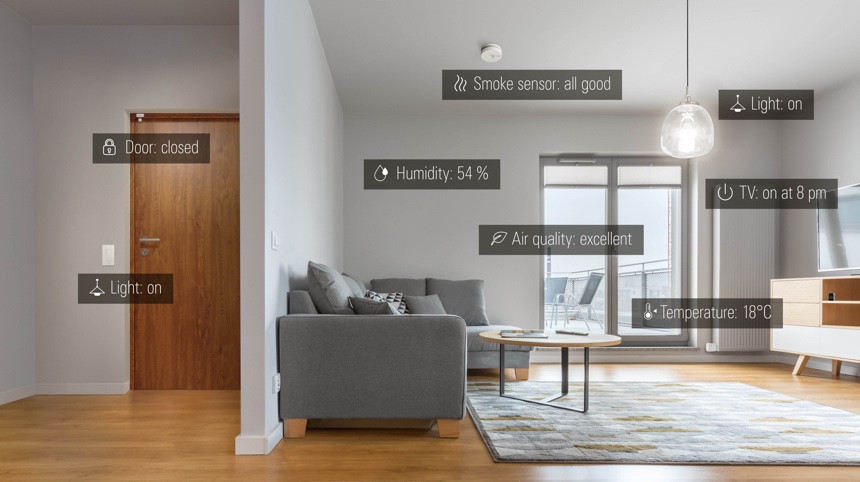
What you can do with each device in the Home app depends on what category it is in. Sensors will offer a live reading (checking a door is closed, if motion is detected, what the temperature is) and you can turn on/off lights and plugs, lock/unlock doors straight from the Control Center.
Apple controls the capabilities of each device you add, so all your door locks, lights, and plugs will work in the same way in the app (even if they have different features in their own app).
There is an upside to all this tight Cupertino control, security is pretty bulletproof, and those wanting to ensure their smart home is protected from intrusion should definitely consider HomeKit.
Best HomeKit-compatible devices
There are some fantastic options when it comes to picking top smart home devices to work within Apple’s ecosystem.
Powered by a plethora of new devices (thanks to the Cupertino company’s shift away from its earlier, limiting hardware requirements), an affordable smart speaker in the HomePod Mini, and the coming of Thread/CHiP, HomeKit is on a roll.
Here are some of our favorite HomeKit compatible gadgets (for a deeper dive on these and some of our other favorite products check out our guide to the best HomeKit devices):
Philips Hue
Hue and HomeKit work together seamlessly. All Hue’s lighting products will show up in your Home app, as long as they’re connected to your Hue bridge. Once paired you can control your lights with your voice and add them to HomeKit automations. And because the communication is bridge-to-bridge, it’s all done locally, no cloud involved, making it super snappy.
Hue also works with HomeKit Adaptive Lighting. This is a feature that can change the color temperature of smart lighting at different times of the day, emitting warmer colors in the morning, cooler ones halfway through the day to help energize you, and at night automatically lowers the light to help you wind down.
Ecobee smart thermostats
The range of Ecobee smart thermostats use HomeKit to the max, not only letting you control heating remotely, but also letting you take advantage of the platform’s geofencing, triggers, scenes – and a whole gamut of HomeKit-based features. You can even use Ecobee’s remote sensors as triggers for HomeKit automations.
Eve
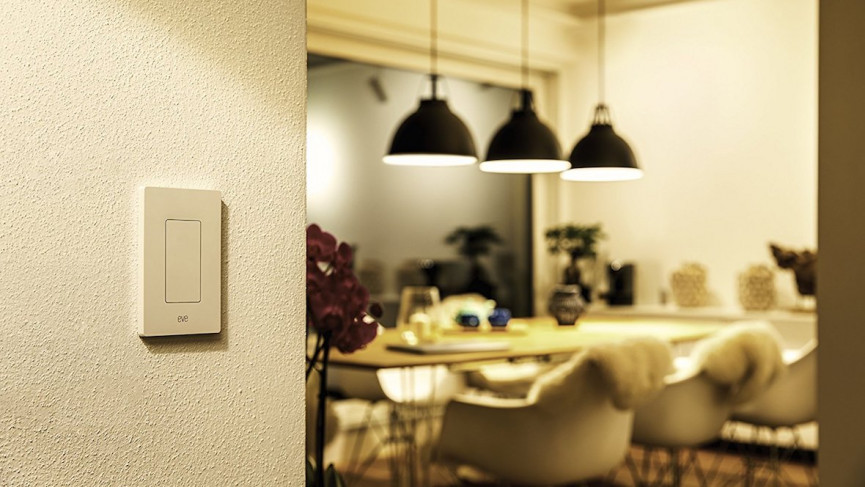
Eve has dedicated itself to creating devices for Apple HomeKit and its app is a really great option to use instead of Apple’s Home app, as it offers some more advanced features and lets you create more complicated automations.
The Eve range is one of the most complete on the HomeKit market, including motion sensors, security cameras, door/window sensors, temperature sensors, plugs, radiator valves, and light switches. Plus, Eve has committed to transitioning all of its compatible products to Thread, meaning it will work seamlessly with your Apple HomePod Mini.
Nanoleaf Essentials + Panels
Nanoleaf’s Essentials line – the Nanoleaf Essentials Bulb (A19/A60) for $19.99 and the 80 inch/2m Essential Lightstrip for $44.99 – is a great option for HomeKit.
Full-color, smart LED lights, both have Thread connectivity built-in, so there’s no need for a hub and no need for WiFi. The Thread radio makes these lighting options an excellent choice if you have a HomePod Mini as they respond almost instantly to any Home or Siri commands. The Nanoleaf Light Panels also work with HomeKit and Thread is coming to those soon, too.
August Wifi Smart Lock
The August Wifi Smart Lock is a completely redesigned version of its iconic smart lock. At almost half the size and 20% slimmer, it still sports August’s signature auto-unlock feature, and of course supports HomeKit so you can add the lock to Automations and use Siri to lock or unlock with your voice.
This lock attaches to your existing deadbolt, making install a cinch. And despite its smaller size, the lock packs an extra feature – integrated WiFi, so there’s no need for an extra bridge or smart home hub to control it when you’re away from home.
Logitech Circle View
The Logitech Circle View comes with HomeKit Secure Video and was the first indoor/outdoor camera to do so. The benefit of HSV is that the encryption happens on the local device before being sent to the cloud, meaning Apple can’t get into it even if it wanted to.
You also get all the HSV features, including 1080p HD live streaming, recorded videos accessible for 10 days, motion alerts (including smart people, animal, and vehicle alerts), customizable motion zones, two-way audio, and rich notifications.
Lutron Caseta Dimmer
This HomeKit-enabled Dimmer Switch lets you chat to Siri to control your smart bulbs, and we think it’s one of the best dimmer switches out there.
Plus, it’s accompanying Pico remote can be programmed to trigger scenes and act as a second wall switch. You will need the Caseta bridge to connect to HomeKit (you can buy it bundled with a switch for under $100), but once you’re hooked in you can create scenes and schedules, as well as set up geofencing for when you leave and enter the house.
Wemo WiFi Smart Plug
The successor to the Wemo Mini, the Wemo WiFi Smart Plug also works with HomeKit and is even more compact than its predecessor, 45% mini-er, says Belkin.
Naturally, you can control your device from anywhere, and even use your voice assistant (it supports all three) should you not want to pull out that Home app. Pick up a 3-pack for $50 an. get automating.
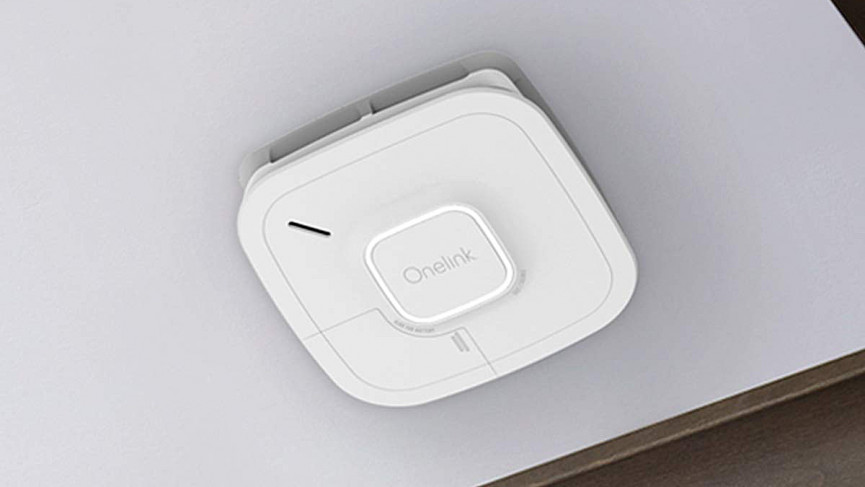
First Alert Onelink Smoke & CO
The Safe & Sound is First Alert’s fanciest smart smoke and CO detector, but we’d recommend the Smoke & CO version to save yourself a few bucks. Using HomeKit you can set up smart home routines that react to your alarm, like having the lights flash, unlock the front door and circulating the HVAC fan.
The Onelink smoke alarms come in battery-powered or wired versions and will also send alerts to your phone when it detects smoke or CO. From here you can deactivate the alarm if you’re on your WiFi network.
Fibaro Motion Sensor
Looking a lot like the Eye of Sauron, Fibaro’s top motion sensor detects movement and doubles up as temperature sensor. It’s also teeny tiny, making it easy to install anywhere you need some motion detected. Stick one by your bed and have your lights turn on when your feet hit the floor.
With HomeKit you can have alerts pop up on your iPhone when motion is detected and you can also integrate motion detection into HomeKit automations.
MyQ Garage Door Controller
Hey Siri, open the garage door.” With the MyQ garage door controller plugged into your existing garage door opener you can say those six magic words and life will seem so much simpler.
Yes, you can use the remote control on your visor but this is just cooler, plus you can check on your door’s status from anywhere, and even have HomeKit close the door automatically for you when you drive away. For HomeKit compatibility you will need to buy the MyQ Home Bridge, which at $69 costs more than the controller.
Abode Smart Security
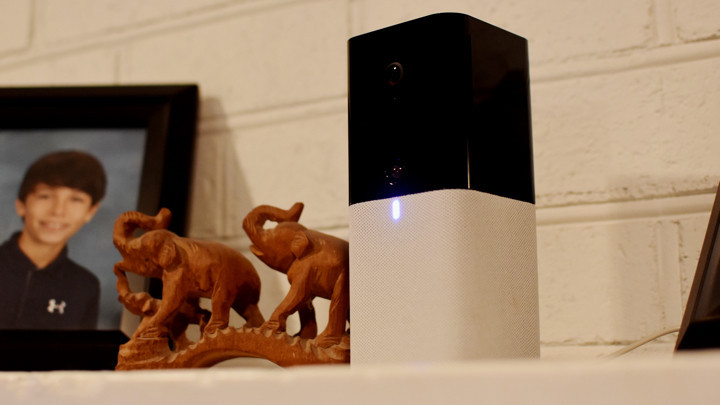
With HomeKit integration you can control this DIY security system entirely through the Home app, including setting up automations and geofencing to arm and disarm, and view video (no HomeKit Secure Video though).
All your Abode motion sensors, window and door sensors and cameras will show up in HomeKit, allowing you to use them to trigger automations and scenes. You can also use Siri for voice control. The professional monitoring part is only done through the Abode app, however.
Everything else
You can actually keep up with every single device that is compatible with Apple Home using this handy reference that Apple keeps updated.

HomeKit Secure Video security cameras
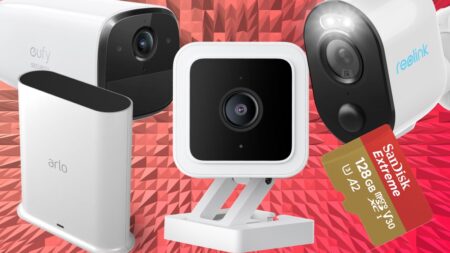
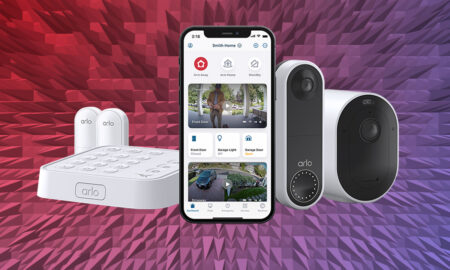
Smart security cameras used to be an area where Apple was miles behind its rivals, but today there are dozens of HomeKit compatible security cameras from Arlo, Netatmo, Logitech, Eufy and more. Plus, some of these work with HomeKit Secure Video.
The feature changes the way video cameras work with HomeKit, making it not only a way to view live footage but also a way to store recorded footage as part of your iCloud plan. It also brings extra HomeKit features, such as smart alerts, facial recognition and activity zones.
Secure Video brings peace of mind that your footage won’t be seen by prying eyes as when footage is captured, it gets encrypted end-to-end and is then fired into the iCloud, where it will stay – securely. Once there, only you and anyone you invite to view will be able to see it.
Read our HomeKit Secure Video guide to find out more.
Using the Apple Home app
When HomeKit first launched there was no app, instead you used third party manufacturer’s apps to set up each device. Apple soon saw the folly of its ways however, and launched one app to control them all.
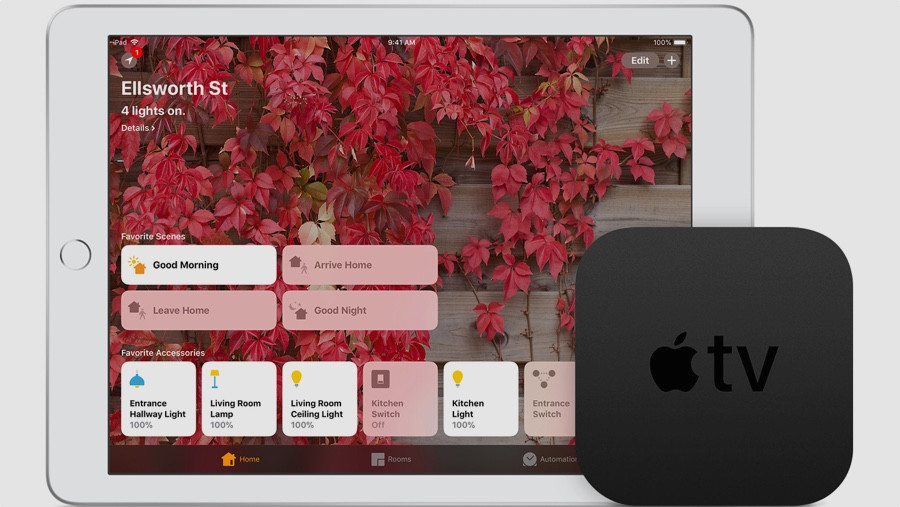
On the app you’ll open up on ‘Home’, which shows all your favorite devices and your favorite scenes.
From there you can drill down into specific Rooms, which groups devices based on which room they’re in.
Next there’s’Automation,’ which allows you to automate how your smart home reacts to things. For instance you can have the lights turn off when you leave home, or set the front door to lock at night.
In the app you can also turn on notifications for any doors, locks, and sensors in your HomeKit home, a sort of de facto security system. The app is also where you go to add any accessory and to set up scenes and automations (more on that below).
If you aren’t a fan of the Home app, interestingly you can use third-party apps instead. Eve’s is very good, Fibaro also has one, and there are a number of paid options in the app store. The advantage of these is you can get a bit more control over some of your Home devices – but they are also more complicated than the Home app.
Creating Scenes and Automations
One of the best features of the Apple Home app is the ability to create Scenes; essentially groupings of devices, which can be controlled in one fell swoop (think “bed time” or “movie mode”). Scenes can be controlled by voice with Siri, by touch in the app on your phone or watch, or by activating another device – like a smart home button.
Press the plus symbol in the top-right and choose Add Scene. Choose devices you want to control by tapping Add Accessories and then name the Scene before pressing Done.
Along the same lines, Automations allow you to automate the behavior of a bunch of connected devices dependent on factors such as the time of day, or your location (based on your iPhone’s home / away status), when a sensor detects something (motion or smoke), and/or when another device is controlled (such as a door locked). The different between Scenes and Automations is that Scenes require you to trigger them by voice or touch; Automations happen automatically.
The one exception is that Automations can also trigger Scenes. So you can set an Automation that triggers your “Good Night” scene to turn off the smart lights, turn down the heat, and lock the doors at 10:30 pm every night.
For a deeper dive on HomeKit Scenes and Automations read our guide on how to set up these super useful smart home helpers.
Best Siri HomeKit commands
Controlling elements of your home by voice is a really natural interface. What’s the point of a smart bulb if you can only turn it on with your phone?
Apple’s smart home runs on Siri (no Alexa or Google Assistant here). The voice assistant is built into the iPhone, Mac, Apple Watch, Apple TV, and the HomePod, which means a Siri device is likely never far away.
Command all of your smart home devices with your voice and have them execute both simple and more complicated tasks. Here’s some of the best uses for Siri in your smart home (all of which start with a, “Hey, Siri…”).
“Turn on the lights” or “Turn off the lights.”
“Dim the lights” or “Set the brightness to 50%.”
“Set the temperature to 68 degrees.”
“Turn on the coffee maker.”
“Turn on the upstairs lights.”
“Dim the lights in the dining room to 50%.”
“Make the living room lights the brightest.”
“Set the thermostat downstairs to 70.”
“Set my bedtime scene.”
“Open the garage door.”
“Lock the front door.”
“Is the bedroom window open?”
Share your HomeKit Home
Once your HomeKit Home is set up, you might want to afford other people control of your devices. Apple makes it easy to share your set-up with anyone – so your spouse, child, roommate, or babysitter can turn on the lights and set the heating to their preferred temperature.
Tap the plus icon in the top right-hand corner of the Apple Home app, and choose Add People. Select a contact from the list and then press Send Invite. They will have to have an iCloud account. When they accept, their Apple Home app will be populated with all your devices.
You can have more than one home in the Home app, so if they have their own they can switch between the two (or, usefully, let Apple do it for them based on geolocation).
How to set up a HomeKit hub
If you’re at home on your iPhone, your HomeKit-enabled kit will work without a hub, but for any remote access or control, you will need an ever-present, Wi-Fi enabled, device in your house. The good news is Apple’s smart home setup cleverly leverages an Apple TV, HomePod Mini, or iPad as a secret smart home hub, so there’s no need for yet another plastic box.
You will have to have a HomeKit hub if you want to use Automations or view live camera streams in the Home app, because the hub does all the processing for these systems locally on the device (it doesn’t use the cloud).
Finally, you may want more than one hub. There’s no harm in enabling all the compatible devices you have as HomeKit hubs. With multiple hubs set up, the primary home hub will show as connected and the other home hubs will show Standby as their status. They will take over remote access if the main home hub is disconnected, plus they will act as a bluetooth extender for devices further away from the main hub – very useful in larger homes.
This is also where Thread and Matter will come into play. Thread is a mesh network which means it can connect all your devices together in a giant mesh, helping extend connectivity throughout your home.
Set up Apple TV as a home hub
An Apple TV 4K is a great solution for a hub because it’s always plugged in and it’s a superb video streaming device, plus its remote control has Siri built in so you can ask it to operate your home devices without having to reach for your phone.
For setup, Apple and iCloud help with most of the heavy lifting here, but here’s how to add an Apple TV to your HomeKit home.
1. On your iOS device enable two-factor authentication for your Apple ID. Head to the iCloud settings and make sure keychain access is enabled. It should be.
2. You’ll need to be signed into the same iCloud account on the Apple TV (Settings > Accounts to check).
3. iCloud should do the rest but you can go to Settings > Accounts > iCloud to check if HomeKit is connected. You can also check the status of home hubs (Apple TV or an iPad) by tapping in the right-hand corner of the Apple Home app screen and looking under Home Hubs.
Set up HomePod as a home hub
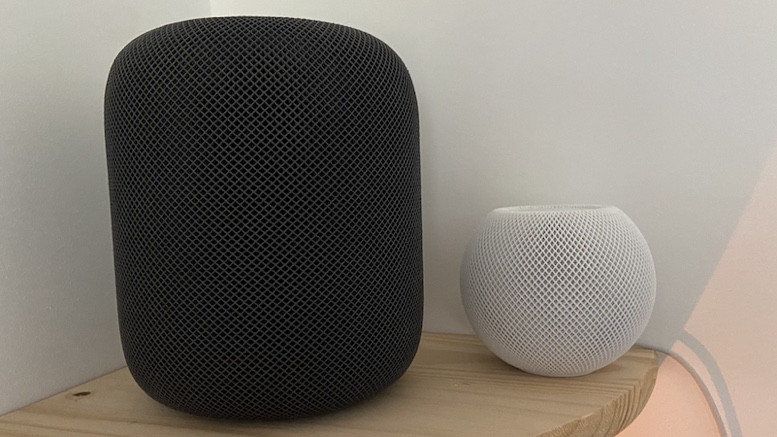
Apple’s smart speakers, the original HomePod (now discontinued), HomePod 2 and the HomePod Mini, can also act as your HomeKit hub and, like the Apple TV option, makes a lot of sense to use as it’s likely to be static in your home, and powered on all of the time.
Like Apple TV, HomeKit hub setup on the HomePod is an automatic affair – just make sure you’ve enabled two-factor authentication for your Apple ID, approved keychain access and signed into the same iCloud account.
You’ll see your Apple HomeKit hubs listed in the Home app, and the app will also tell you which one it’s using.
The HomePod Mini and the HomePod 2 both pack in a Thread radio – a protocol that is going to play a big part in the future of the smart-home.
Set up iPad as a home hub
First make sure you’re signed into your iPad using the same iCloud account as the rest of your iOS devices.
Next, go to Settings > Home and turn on ‘Use this iPad as a Home Hub’.
Open the Home app and tap in the upper-left corner. Then look under Home Hubs to see if your home hub is connected. To work as a HomeKit hub your iPad needs to be powered on all the time and remain in the home and it doesn’t have the Matter or Thread skills of the Apple TV or HomePod.
Use your HomeKit Hub as a Matter controller
We’ve mentioned Matter a few times now and the good news is that, if you’ve already got a HomeKit hub setup as described above, you are ready to start adding Matter devices to your Apple Home.
Both gen HomePods, the HomePod Mini and Apple TV 4K (2021 and 2022 models) are all capable Matter controller.
If you want to add a Matter over Thread device to your Apple Home, that Matter controller also needs to double up as a Thread border router.
There are currently four options for that scenario: 2nd-gen HomePod, HomePod Mini, 2021 Apple TV 4K and the 128GB version of the 2022 Apple TV 4K.
Is HomeKit right for you?
Obviously, HomeKit is only right for you if you use an iPhone (it won’t work with Android phones), and in some ways it lags behind the likes of Alexa and Google Assistant, mainly in terms of compatible devices and Siri’s own smarts as an assistant.
However, thanks to Apple making a key change in allowing manufacturers to make their devices HomeKit-friendly with a software change rather than a chip, and the arrival of Matter, we’re starting to see more HomeKit-friendly gadgets hit the market.
Usability has vastly improved over time, and the Home app is a very powerful smart home manager, giving you a lot more options for control and automation than Alexa does. Overall, HomeKit is more on par with a smart home system like SmartThings, although it still needs work.
However, HomeKit is very secure and once set up is a pretty bulletproof platform that – thanks to being locally-controlled and not cloud dependent – rarely suffers from dropped connections or temperamental hardware.
Siri control is the icing on the cake. As long as you have an iPhone, Apple Watch or HomePod Mini to hand, you always have instant control over your scenes and devices.
Apple HomeKit: More tips and tricks
Put Your HomePod Minis and Apple TVs to work
Thanks to a recent update you can now add both HomePod and Apple TV to automations and scenes, so you can have music start playing when you open the front door or have the Apple TV fire up Netflix as part of your Netflix and Chill scene. Find out more in our explainer here.
Use Spotify on HomePod
Finally – you can now take advantage of Spotify via your HomePod as an AirPlay 2 speaker, and even use multi-room audio. Check out our guide to find out how.
Use the Home app for MacOS
Apple’s Home app for MacOS lets you catch up with what’s happening in your home and control essential devices straight from your desktop.
Shortcuts bring more fun
HomeKit has integrated with Apple’s Shortcuts app so you can tie in features of your phone to your home. For example, you can have the lights turn on when you turn your alarm off, or integrate Apple’s CarPlay into your home automations.
Make your smart TV smarter
Select smart TV models from LG, Vizio, and others are now HomeKit compatible. This means the TV shows up in your Home app as a device and can be controlled from there: turn it on or off, control the volume, and switch HDMI inputs. You can also use Siri to control the TV, plus add it into Scenes and Automations, as well as use your iPhone’s control center as a TV remote.
Add HomePod to Sonos
Sonos and HomePod finally work together, so you can take advantage of multi-room without investing in a whole new set up. Check out our guide to get it working.
Control your HomePod Mini with your iPhone
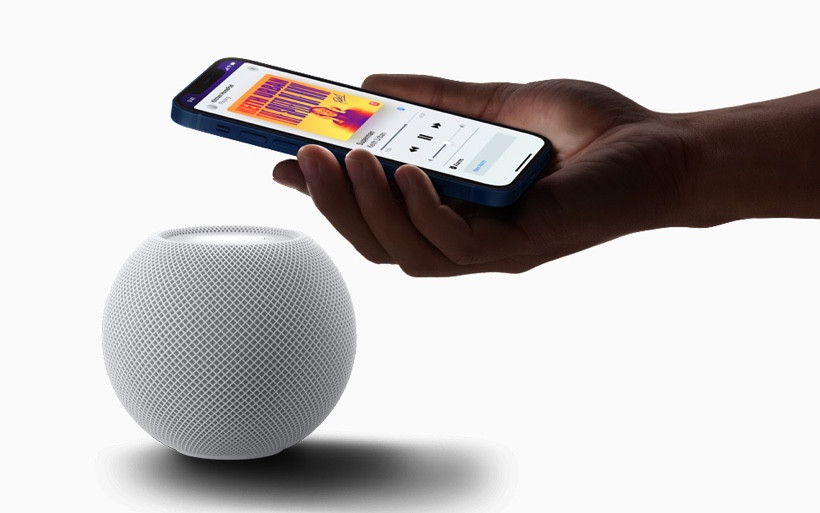
HomePod Mini is mainly controlled via Siri, but for those awkward moments your iPhone can also play a crucial role to stop, start, pause, and control the volume.


