Signify's entertainment party trick is a blockbuster – here's how to get involved
Some of the coolest tricks possible with your Philips Hue lights come courtesy of the Hue Entertainment, and the official Hue Sync app.
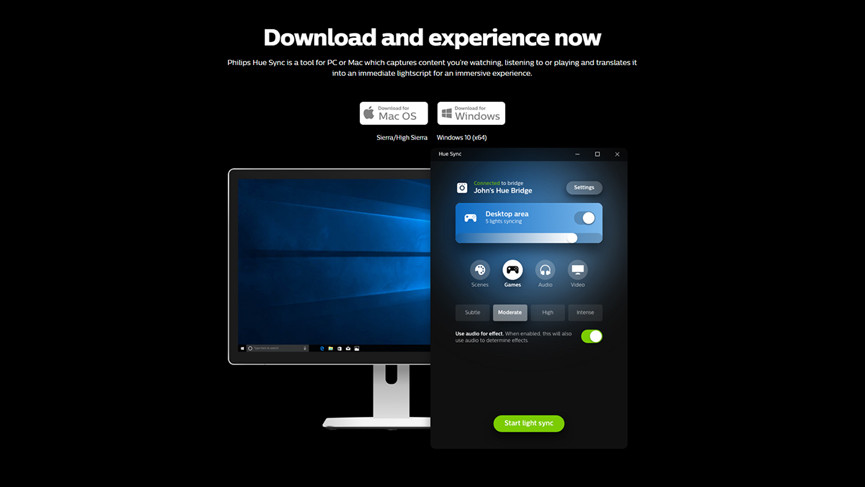
This Windows/macOS tool lets you sync your Philips Hue bulbs to your music, TV, movies and games.
It works by analysing what’s on screen and adjusting your multicolour Hue bulbs accordingly — a great way to add some extra immersion to film night or a gaming session.
Hook up your computer to a TV and it’s even more impressive. It works whatever Signify devices you have – from the standard Philips Hue bulbs to the dedicated Hue Hue Play gradient lightstrip for PC that launched at IFA 2022.
Here we’ll guide you through the whole process, assuming that you’ve already got your Philips Hue system set up. The app is free to download and use, and simple to configure.
Note, this isn’t the only Philips Hue app available to sync your Hue lights to movies, music and so on, but it’s the best available at the moment out of the ones we’ve come across (being made by the company behind the Hue brand, Signify, and running on the same device as your media certainly helps).
Hue Sync alternatives
Sync My Lights (for iOS and Android) is worth a look and uses timings programmed by users rather than trying to watch what you’re watching, while Hue Matcher for Android uses your phone’s camera to keep your lights in sync with your movies. Hue Camera for iOS does a similar job on Apple devices.
When it comes to syncing Hue lights with music, apps such as Huegasm for Android, and Hue Disco for Android and iOS are definitely worth a look. However, here we’ll focus on the official tool from Philips: Hue Sync for Windows and macOS.
If you’ve got the funds, Signify also offers the Philips Hue Play HDMI Sync Box, which lets you sync your smart lights with your entertainment using HDMI pass-through, meaning you can plug in your various TV boxes and sync all the media moving through it with your Hue lights.
It’s always expanding the range and the new Hue Sync Play Gradient Lightstrip is an awesome addition – and is also a device that will work without the Box, so could be used for the method below, as well.
But, if you want to learn all about Hue Sync using the app, read on…
The hardware you need
In order for the Philips Hue Sync app to work its magic, it needs to be running on the same device that you’re watching movies on – in other words, a computer with macOS Sierra (or later) or Windows 10 installed.
That’s fine if you’re watching films on a laptop, or gaming with a computer attached to a large monitor; but if you want to get the effect working with a standard television (for movie night maybe) then you’ll need to hook up your computer to it directly.
This shouldn’t be too difficult on most modern laptops or desktops – check the video output options on your computer, and the video input options on your TV, and get a cable to match. In most cases, on hardware bought in the last few years, a simple HDMI connection will be what you need, though you can also use an AirPlay connection if you’re on a Mac.
Both macOS and Windows can automatically detect a second screen once it’s attached, and will let you run your video on it. The Hue Sync app can automatically handle second screens as well, so configuring an external display shouldn’t be too much extra work.
Set up your entertainment areas
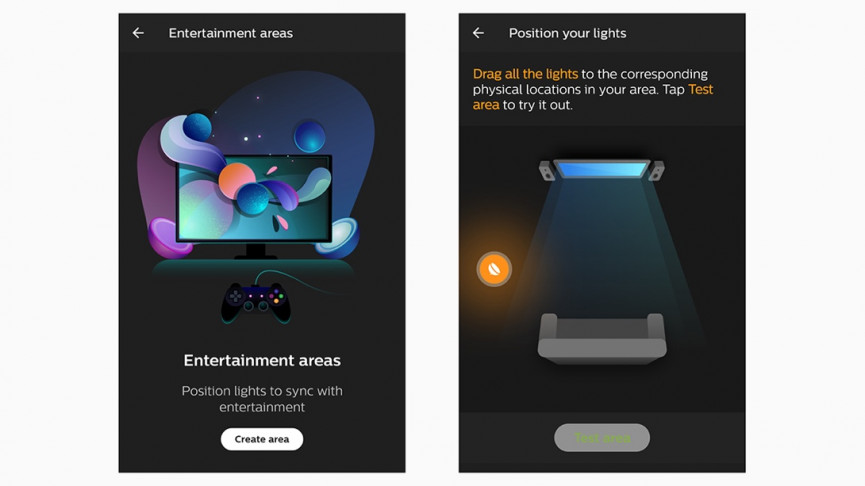
Before you install the desktop application on your computer, you need to set up what’s called an “entertainment area” in the Hue app for iOS or Android.
In the mobile app, head to the Settings tab, then tap Entertainment areas. Pick Create area, then select the rooms with the lights you want to use — you’ll only be able to select ones with multicoloured bulbs installed in them. You can then pick individual lights, if needed.
Hit the Lights are ready button when asked to, and the app shows you a typical home cinema setup with a big TV screen and a sofa. Drag the icons on the app screen to match the physical location of your lights.
The app lets you test the positions and colour syncing until you’re happy. You can then turn your attention to the desktop app.
Download and install the desktop app
Head to the Philips Hue website to get the free Hue Sync app. As we mentioned earlier, you’re going to need a computer running macOS Sierra (or later) or Windows 10 to get this up and running, but the program works in the same way whether you’re using the platform from Apple or Microsoft.
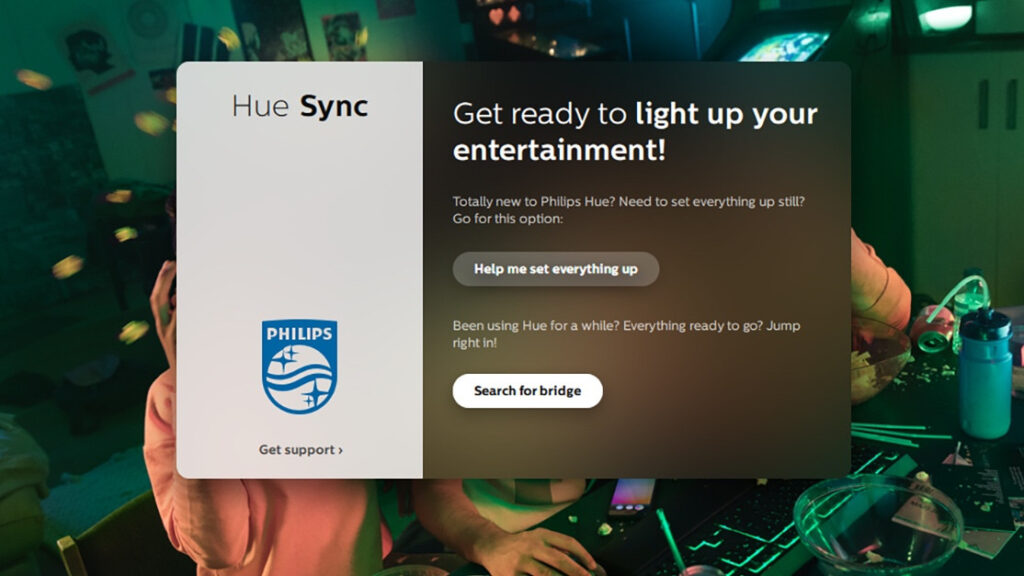
Click through the usual setup screens that you get with most apps (you’re fine to stick with all the default settings), and once the program interface proper appears, you have the choice of setting up your Hue lights from scratch or connecting to an existing system.
Choose Search for bridge, then Connect, and then go and push the connect button on the top of the Hue Bridge itself when prompted. The program should automatically pick up the entertainment area we configured earlier, so select it.
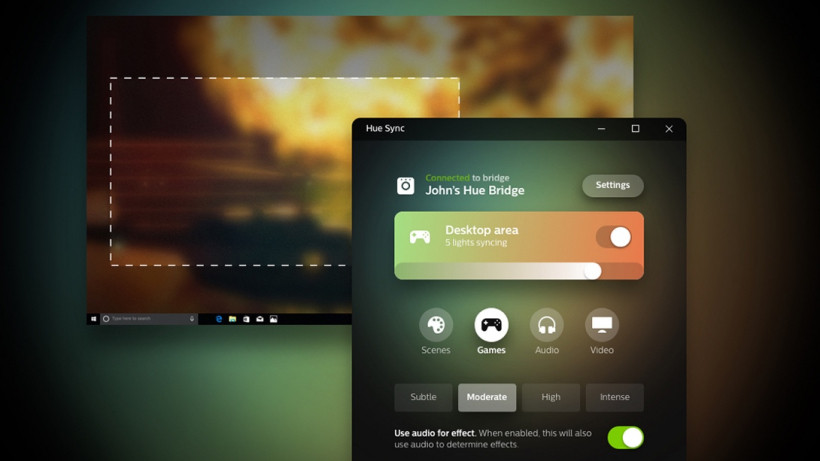
You’ll then get to the main control panel, where you can choose between four modes: Scenes (like the Scenes function in the mobile app), Games, Audio and Video. Each mode operates in a similar way.
Sync your lights to a movie
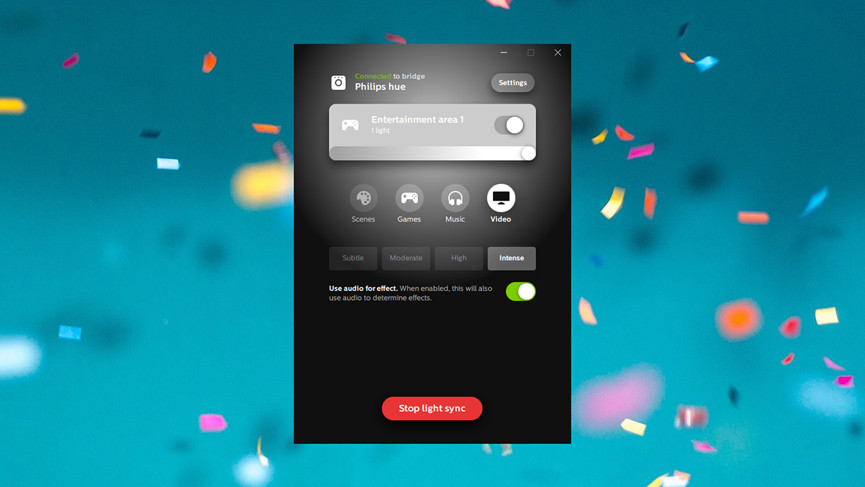
We’ll tackle the movie function first: select Video, making sure the right entertainment area is also selected in the panel above.
The buttons below tweak the strength of the syncing effect, because you maybe don’t want a disco-style effect for a slow-burning European drama. Your choices are Subtle, Moderate, High and Intense, and the toggle switch directly underneath lets you tell the lights to follow the cues from the movie’s audio too.
With that done, click Start light sync, and get whatever movie or TV show you want up on screen. The Hue Sync app works with every video-playing app, whether running as a desktop program or through your browser. For the best results, put the video player in full-screen mode.
Sit back and enjoy the flick, with automatic colour syncing enabled, thanks to the screen monitoring tech built into the Hue Sync app and the settings you’ve configured. The more lights (and types of light) you have the better the effect, but play around with the configuration options to find a setup you like.
Sync your lights to your games
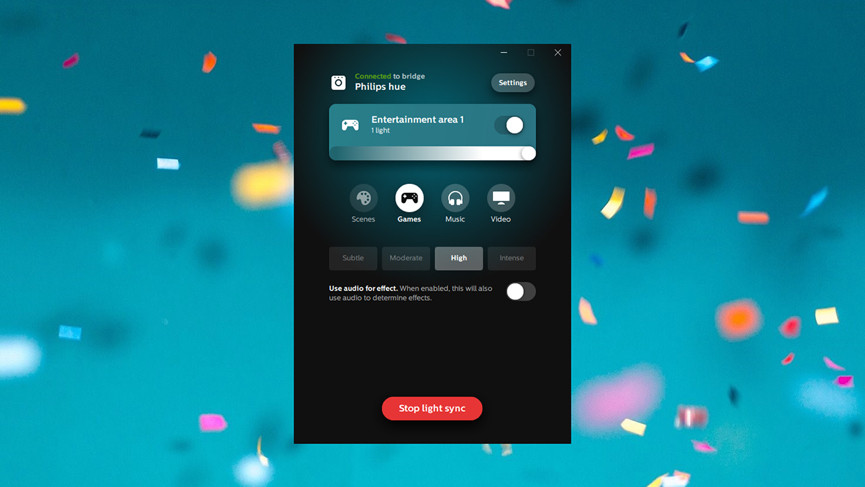
Once you’ve mastered one sync type, you more or less know how to operate the others as well. Back on the main menu, pick Games from the list of choices.
Your choices here are exactly the same as they are for movies. You can choose from a Subtle, Moderate, High or Intense effect, and you can toggle the Use audio for effect switch underneath to have the Hue lights you’ve selected take your game’s soundtrack into account as well.
Click Start light sync and the show starts. You can then get your game of choice up on screen and get playing, watching the colours of your chosen Hue lights change shades as your virtual environment does. Again, for best results, play in full-screen mode.
To our untrained eyes we can’t really spot any differences between this and the Video mode, but it doesn’t really matter – it’s still very impressive, with the colours of your lights changing to match what’s on screen in real time, just about.
Sync your lights to your music
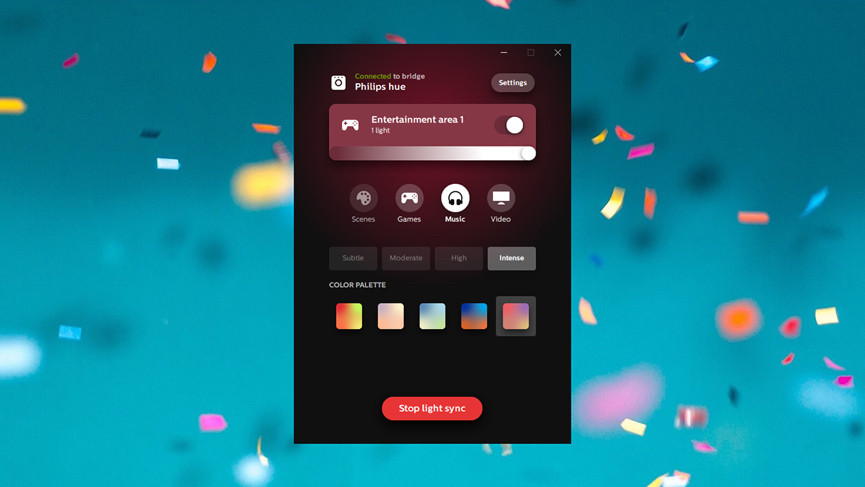
Click the Music option on the Hue sync app dashboard, and this time you can have your Hue lights sync up to the tunes playing on your computer. As with the other modes, choose the group of lights you want to control from the options above.
You can choose between Subtle, Moderate, High or Intense light changes, as before, but this time there’s a choice of colour palettes underneath: these palettes let you limit the colours that are cycled through, so choose one that matches the musical mood.
As yet, you don’t have any option to set up a customised palette. Click Start light sync, and your chosen Hue lights will start to change to match the beat and the volume of the tunes you’re playing on your computer.
It doesn’t have to be music – it can be any audio coming from Windows or macOS. You could even have glowing colours to match the video chats you have with family and friends, if you really want.
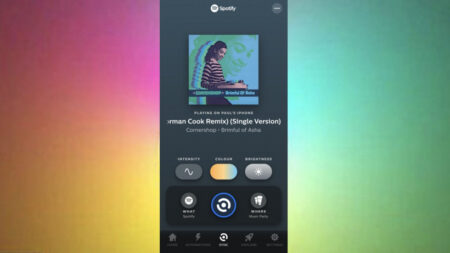
In late 2021, Signify teamed up with streaming giant Spotify and you can now sync your Hue bulbs with your Spotify music using the Hue app – as long as you have a Hue system powered by a Hue Bridge.
Set program options
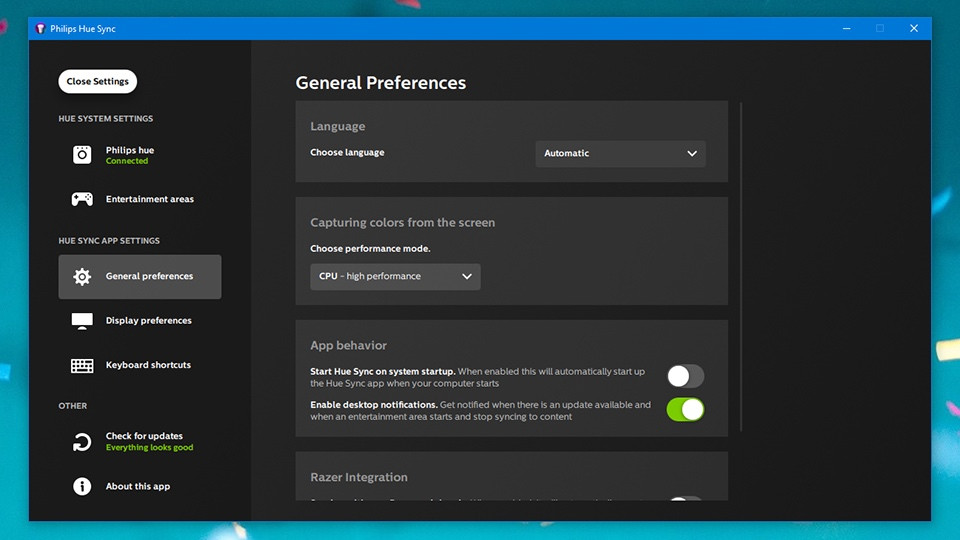
If you click the Settings box in the top right-hand corner of the control panel, you can set up several different options inside the Hue Sync program. One of these, under Display Preferences, lets you select a second display if it hasn’t been identified automatically.
You can configure some keyboard shortcuts too, via the Keyboard shortcuts panel, to change the brightness of your lights or to switch between modes: this can be handy if you want to make adjustments without stopping the video.
Meanwhile, if you’re having trouble with video or gaming playback, go to the General Preferences pane and change the performance mode. This can ease the pressure on your computer’s CPU as it tries to capture colours from the screen.
As we mentioned at the top, other third-party apps will attempt to sync your lights to your movies for you, but we recommend that you start with the official tool and then go on from there if you need to.


