Get your Google smart home hooked up to a new Wi-Fi network with these steps
A Google Home or Google Assistant speaker hangs on your every word to offer smart home control and answers to queries – but only if it’s connected to Wi-Fi. During setup of your Google Assistant speaker – whether the Google Nest Mini, Nest Audio, Nest Hub, Nest Hub Max, or a third party option – you will need to link the speaker or smart display to a Wi-Fi network. If you want to change that network after the initial setup however, you’ll need to scour through the menus of the Google Home app to do so and that’s where we come in.
We will guide you through a step-by-step to help you change your Wi-Fi network on your Google Assistant device as quickly as possible. We’ve also covered off how to connect your Google Home or Google Assistant speaker to a Wi-Fi network a little further down, but if you’re trying to connect your speaker to the same network that’s running on your phone or tablet it’s pretty straightforward so don’t panic. To start with, here’s how to change the Wi-Fi network of your Google Home speaker.
What you’ll need
- Your Google Home/Google Assistant speaker
- The Google Home app
- Your phone or tablet
- Your Wi-Fi network name
- Your Wi-Fi network password
The short version
- Open the Google Home app.
- Select the Google Assistant device you’re changing the network of from the Devices tab.
- Tap on the settings cog in the top right corner of that device.
- In the ‘Device Information’ section, tap ‘Wi-Fi’.
- You’ll then need to ‘Forget Network’ and confirm this is what you want to do.
- Follow the steps in the Google Home app to connect your device to a new network.
How to change your Google Home Wi-Fi network
You need to pretty much completely set up your Google Home speaker or smart display again if you are changing the Wi-Fi network. Luckily, this is pretty quick so it’s not as tiresome a task as it first sounds.
Whether you’ve changed your network or moved house, we’ve got you covered below when it comes to changing the Wi-Fi of your Google Home and Assistant devices. Make sure your phone or tablet is connected to the same network you’re trying to connect your speaker to however, as that’s key to make things much easier and don’t forget your Wi-Fi password or you’ll be here a while.
Time needed: 10 minutes
- Open the Google Home app and find your device
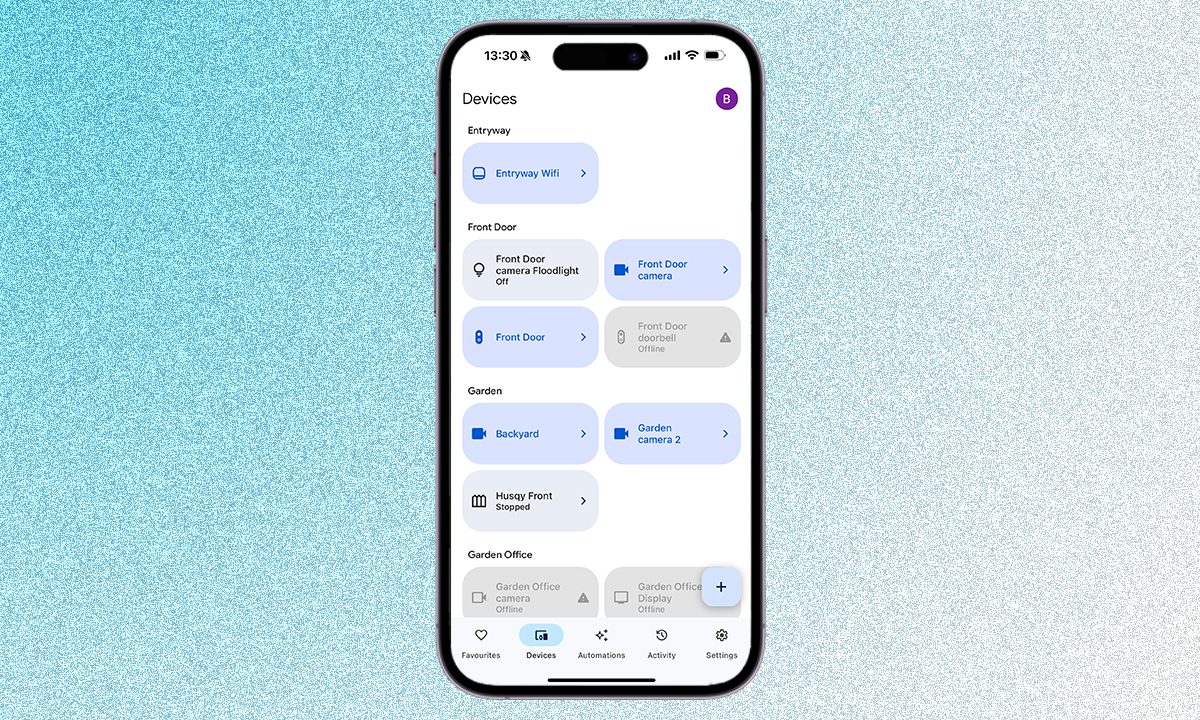
First things first, you’ll need to open the Google Home app and tap on the ‘Devices’ tab at the bottom. You’ll then need to find the Google Home or Google Assistant device you want to change the network of and tap on it.

- Go into device settings and forget your current Wi-Fi network
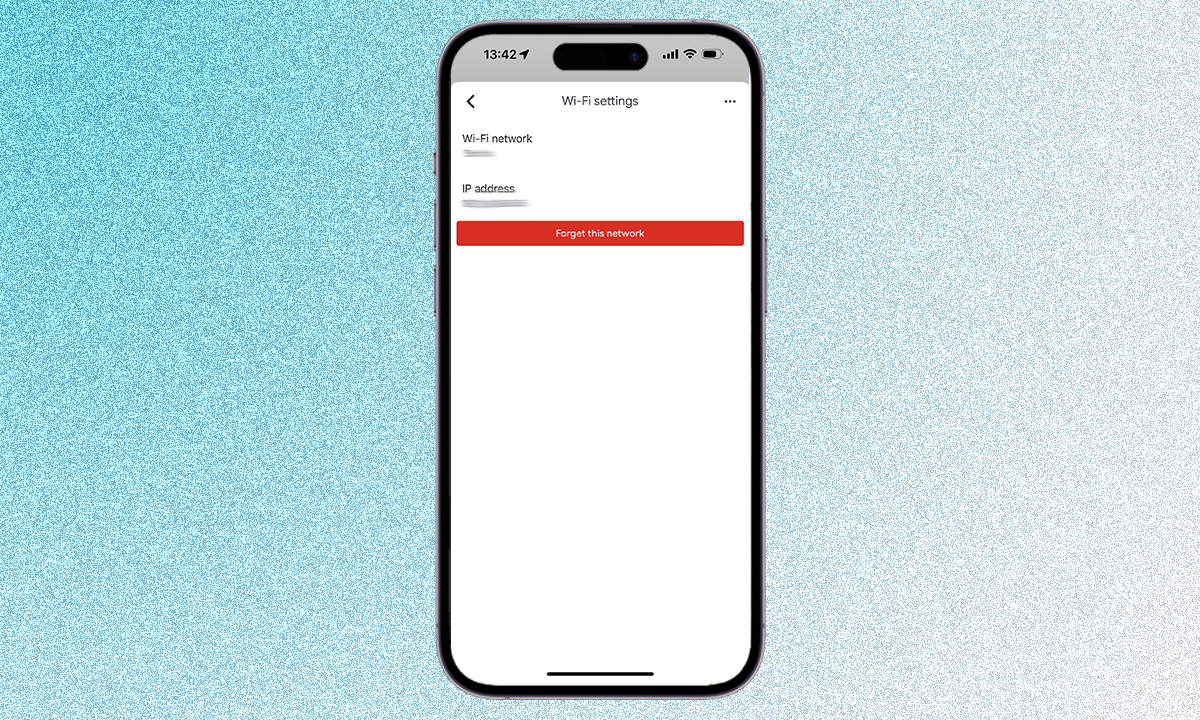
When you’ve found your device in the Devices tab of the Google Home app, you’ll need to tap on the settings cog in the top right corner and tap on ‘Device Information’. You’ll then be able to select ‘Wi-Fi Network’ and choose ‘Forget Network’. Confirm that’s what you want to do and you’ll be ready to add your new Wi-Fi network.

- Setup your device in the Google Home app
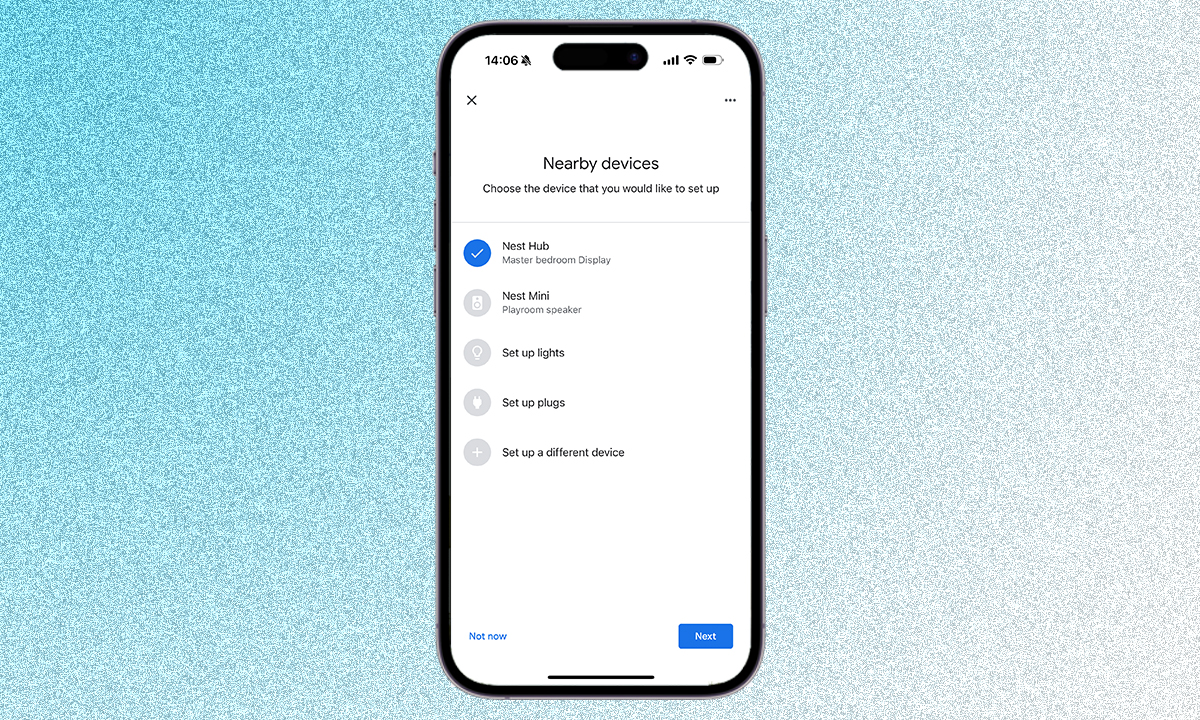
Your device is no longer connected to a Wi-Fi network so you’ll need to head back to the ‘Devices’ tab in the Google Home app and press ‘+’. Choose ‘Google Nest or partner device’ and then follow the in-app instructions. You’ll have to choose a home, after which your Google device should appear in the list of ‘Nearby devices’. Select it and press ‘Next’.

- Connect to your new Wi-Fi network
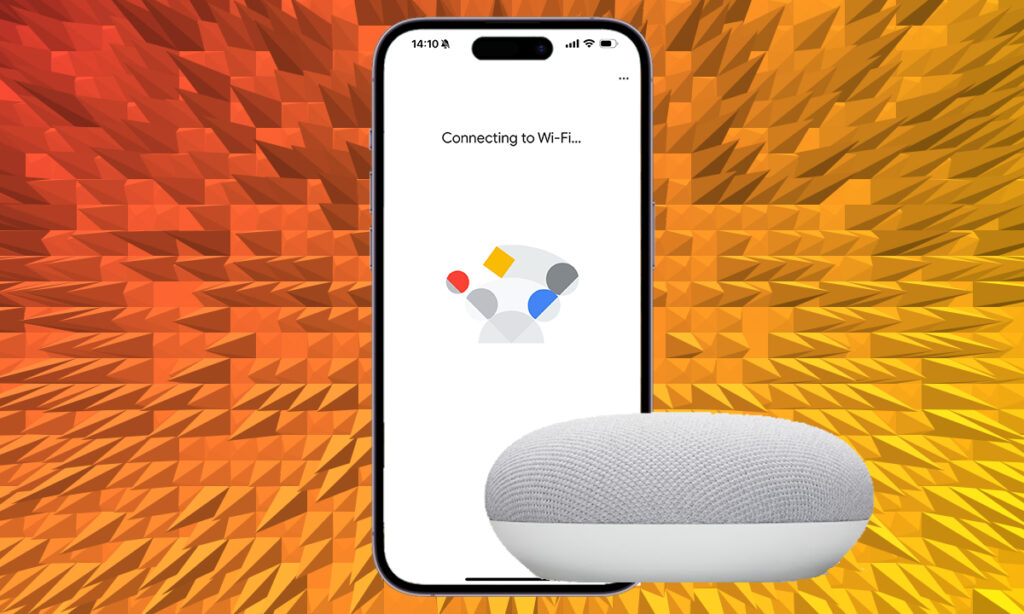
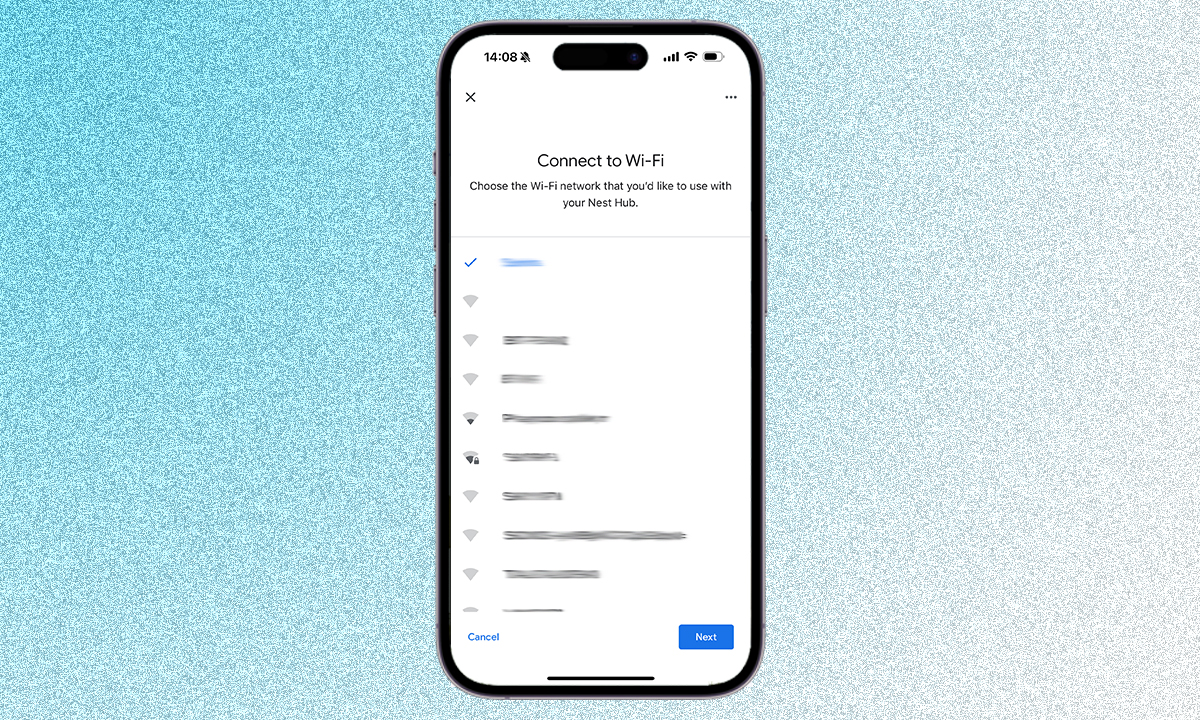
After following a couple of extra steps, like deciding which room your Google Home or Google Assistant speaker is in, you’ll get to the ‘Connect to Wi-Fi’ screen. Select your Wi-Fi network from the list and press ‘Next’. Enter the password of your new Wi-Fi network and press ‘Connect’. Enter your Wi-Fi password and as long as it’s the right one, you’ll be golden.

That’s it! Your Google Home or Google Assistant speaker will now be connected to your new Wi-Fi network.
Connecting a Google device to your home network
You’ll be prompted to connect your speaker to a Wi-Fi network during initial setup, but you can always go into the settings menu of an individual device and reconnect if, for whatever reason, the device has forgotten your network. You’ll need the Google Home app installed on your phone or tablet, which you can do through the App Store or Google Play store.
To connect your Google Home or Google Assistant device to a Wi-Fi, follow the quick steps below:
- Open the Google Home app.
- Click ‘Devices’ button down the bottom and then click ‘+ Add’.
- Go through the menus, selecting the location of your device and its name.
- When the list of Wi-Fi networks appears, choose your network, enter the password and tap ‘Connect’
- The pair will then shake hands for a few moments before the app notifies you the device is connected.
Google Home device won’t connect to Wi-Fi?
The above steps should be enough to see your speaker connect to your Wi-Fi network, but we know through experience this isn’t always the case.
If your Google Assistant device can’t connect to Wi-Fi, try these steps:
- Restart your router and wait 30 seconds.
- Restore factory settings on your Google Home or Assistant-enabled device.
- Update the firmware on your router.
- Ensure your device is within range of your phone or tablet.
- Check your phone or tablet is connected to the same network you’re trying to connect your speaker to.
More Google how-to guides
- How to control Sonos with Google Assistant
- How to change the Google Assistant voice on Google Home and Android
- How to make voice calls on Google Home smart speakers
- How to add and control lights and devices with Google Assistant
- How to voice control Chromecast with Google Assistant
- How to adjust Hey Google sensitivity
- How to set up multi-room audio with Google Assistant & Chromecast speakers
- How to set up guest mode for Google Home smart speakers
- How to pair your Google Home with better-sounding Bluetooth speakers
- How to use Alexa as your default assistant on Android


